03
Cómo aplicar los morteros impresos Stonecem®
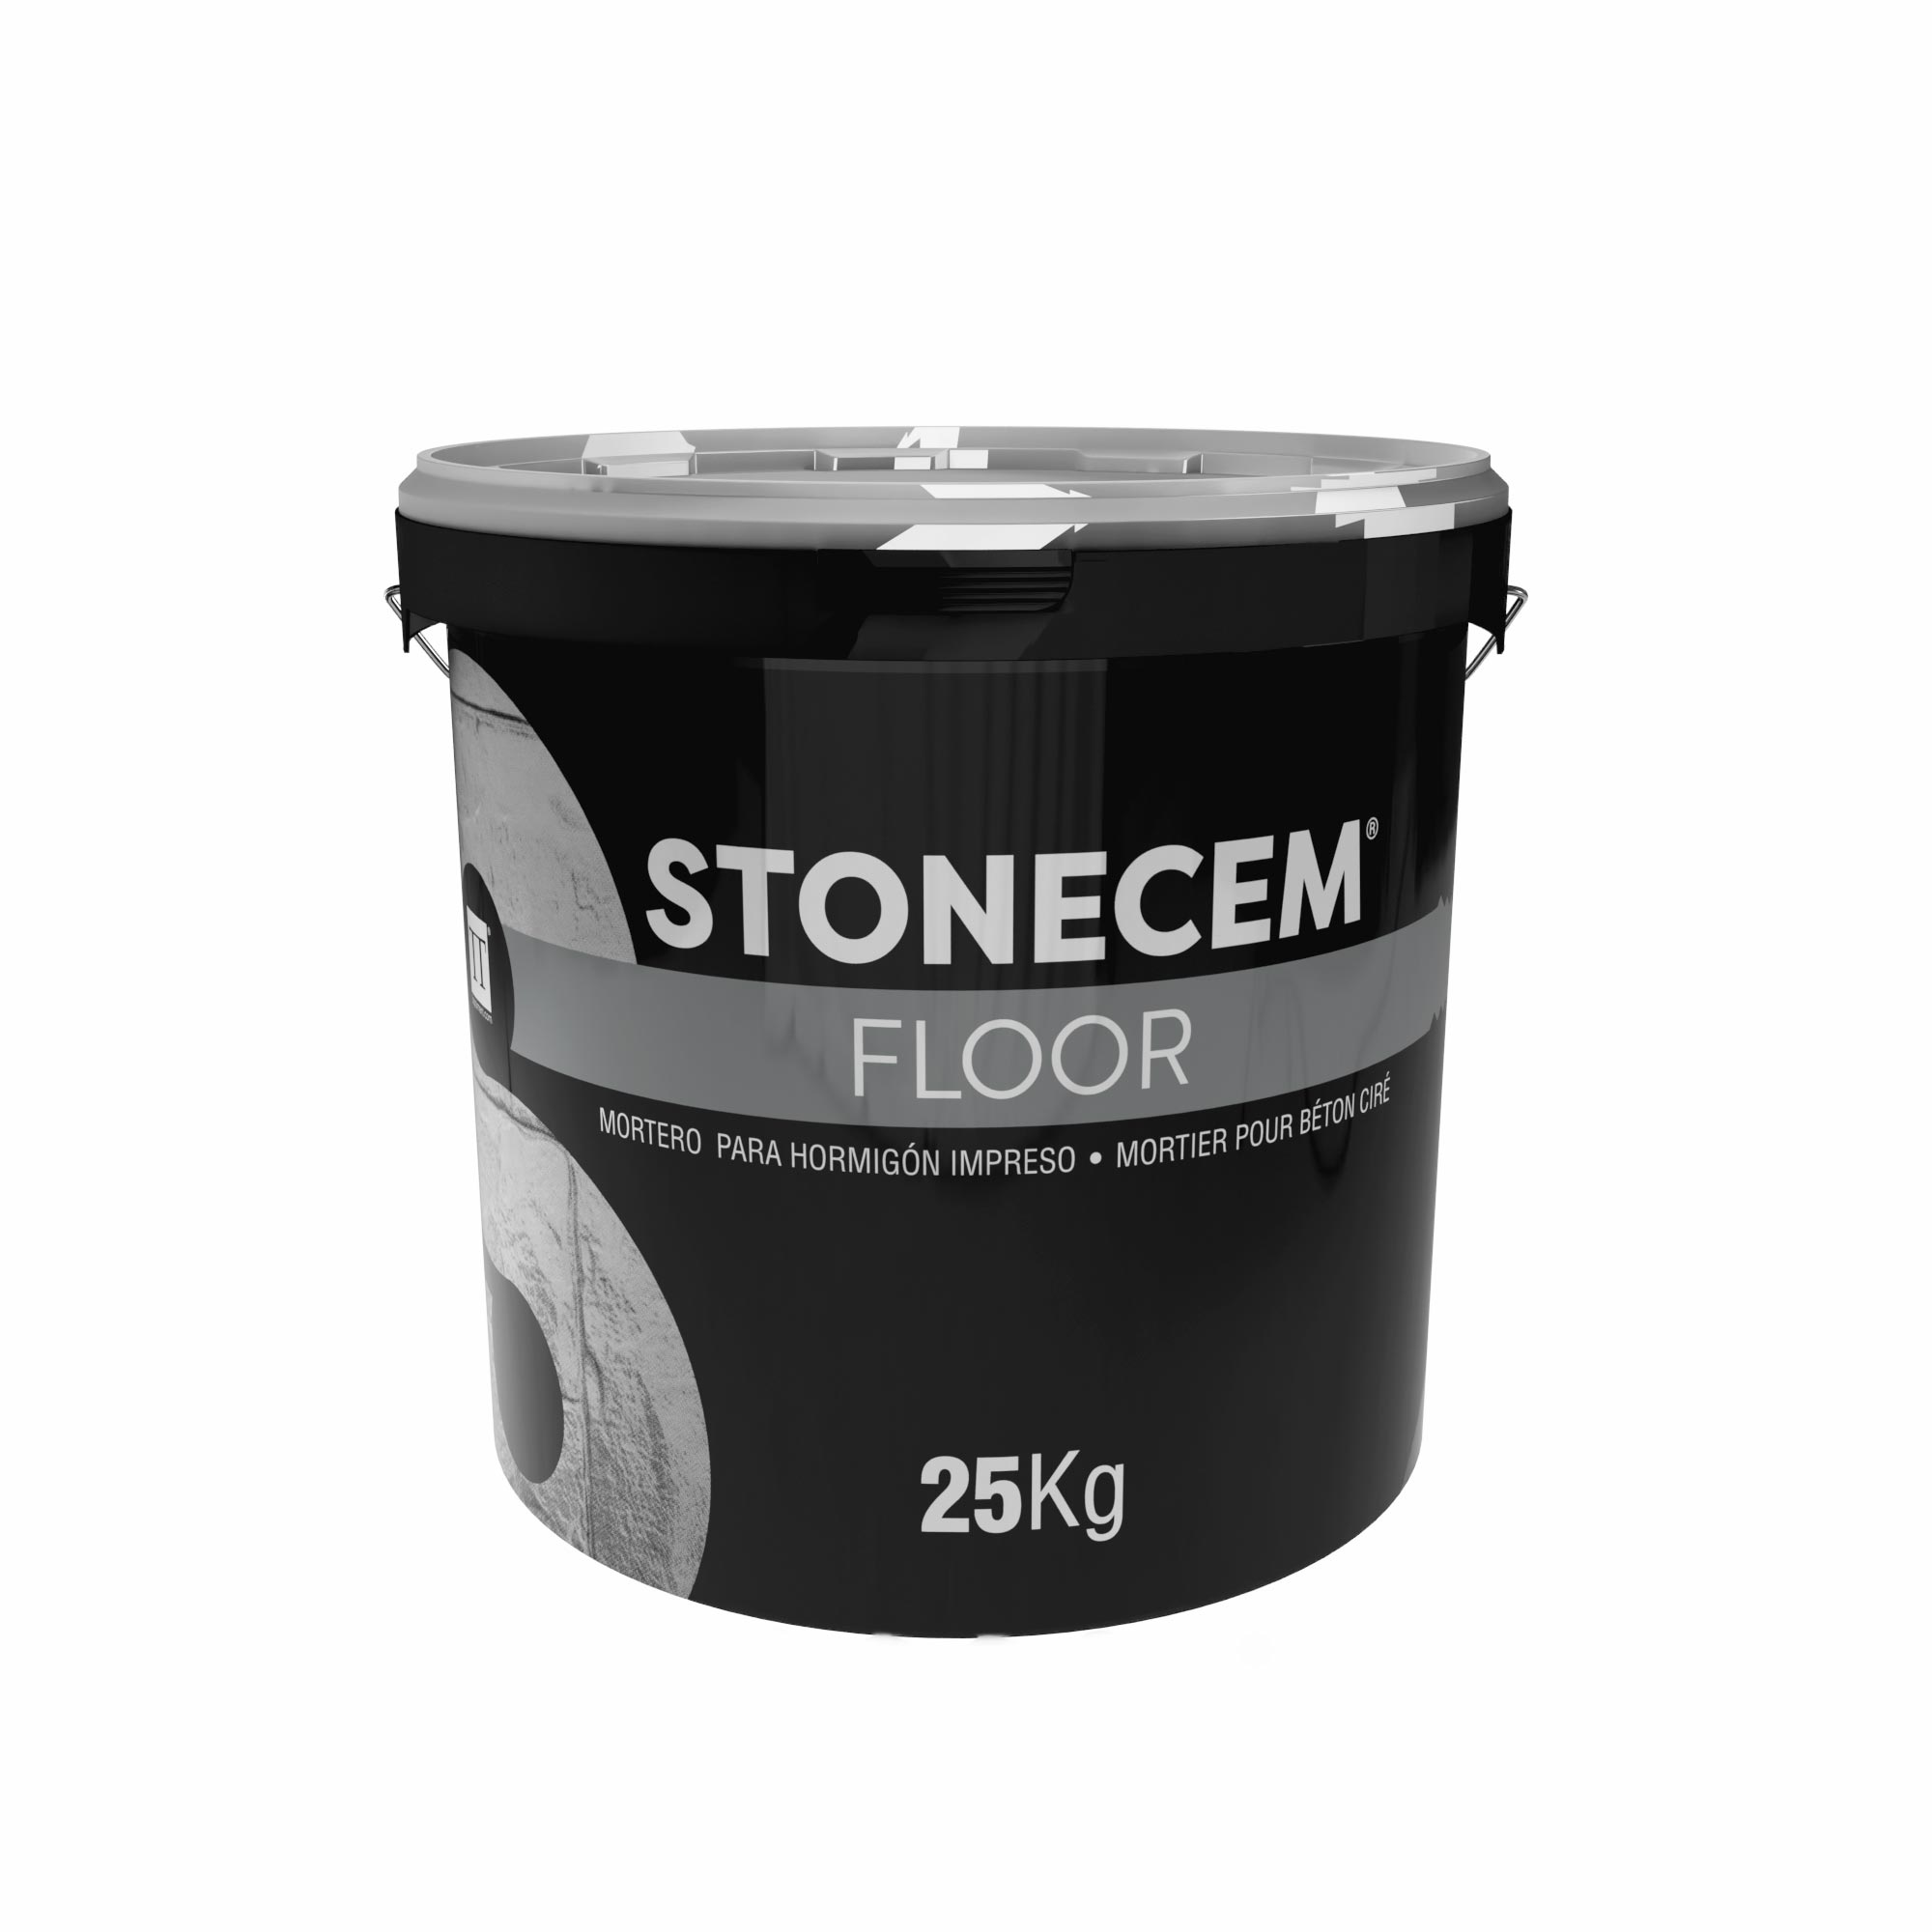
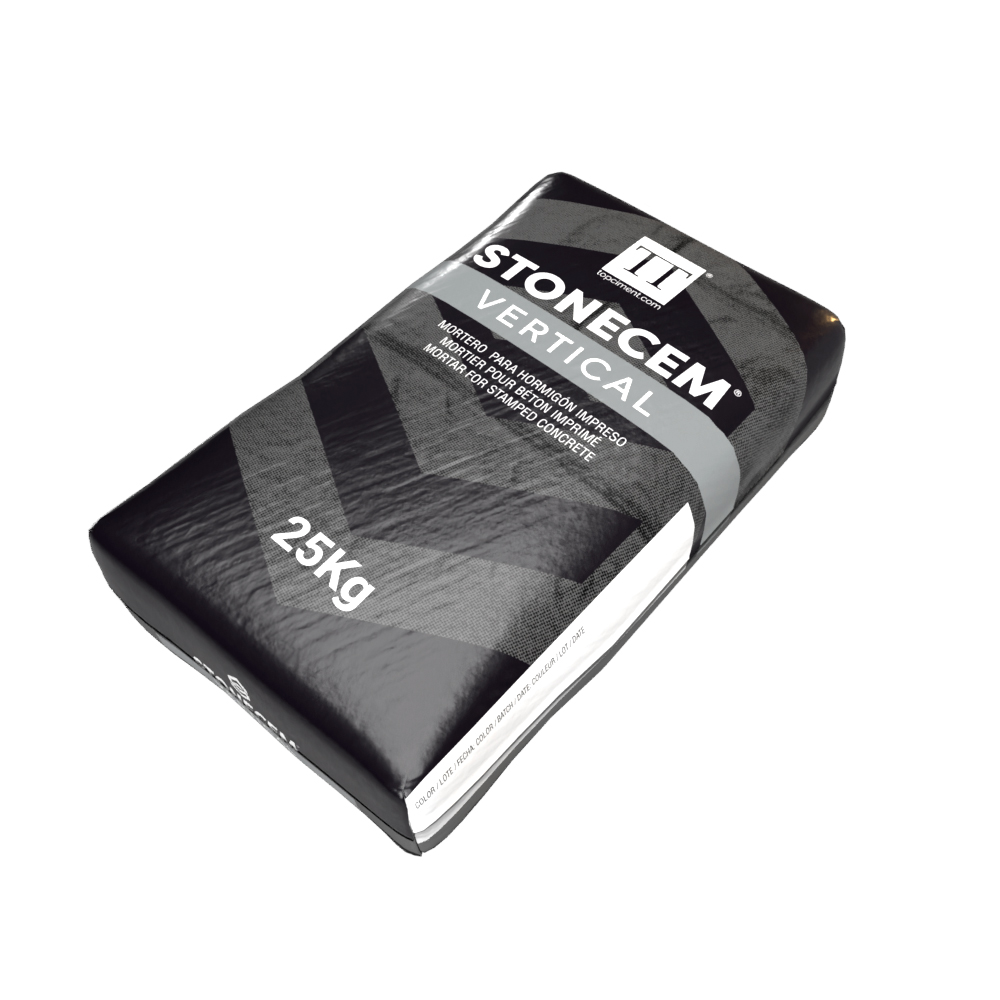
1. Sprinkling of the mortar: Sprinkle the Stonecem® Floor concrete color hardener for stamped pavements (from 4 kg/m² for dark colours up to 6 kg/m² for light colours), once the exudation water has completely evaporated from the concrete.
2. Application of the first coat: Apply 2/3 of the specified quantity of the product and trowel it into the concrete floor. Pour the rest of the concrete color hardener for stamped pavements and trowel again until the desired finish is achieved.
3. Smoothing of the surface: Smooth the surface with a steel trowel until there are no porosities. Then go over the surface with a steel trowel to ensure that there are no chippings.
4. Checking the setting: When the concrete color hardener for stamped pavements has set, check that the surface is firm but not hard and, above all, that it is free of water.
5. Application of the release agent: Next, apply our stamped concrete release agent Desmocem® Powder or Desmocem® Liquid (see proportions in the technical data sheet). We recommend using the first one, except on sloping surfaces or indoor areas.
6. Stamping of concrete color hardener for stamped pavements: When the release agent has been applied, stamp the stamped paving with IMACEM® moulds. In the case of using liquid release agent, the moulds must be completely clean and previously impregnated. The placement of the stamped concrete mould must be consecutive and follow the continuity of the pieces. Afterwards, the mould must be pressed down.
7. Removal of the release agent: After at least 48 hours, remove the chosen stamped concrete release agent and clean the surface accordingly (see data sheet).
8. Application of the protective varnish: Once the surface is completely dry, protect the surface with two coats of one of our Sealcem® stamped concrete varnishes. Allow to dry and harden for 3 days before use.
- 1
1. Sprinkling of the mortar: Sprinkle the Stonecem® Floor concrete color hardener for stamped pavements (from 4 kg/m² for dark colours up to 6 kg/m² for light colours), once the exudation water has completely evaporated from the concrete.
- 2
2. Application of the first coat: Apply 2/3 of the specified quantity of the product and trowel it into the concrete floor. Pour the rest of the concrete color hardener for stamped pavements and trowel again until the desired finish is achieved.
- 3
3. Smoothing of the surface: Smooth the surface with a steel trowel until there are no porosities. Then go over the surface with a steel trowel to ensure that there are no chippings.
- 4
4. Checking the setting: When the concrete color hardener for stamped pavements has set, check that the surface is firm but not hard and, above all, that it is free of water.
- 5
5. Application of the release agent: Next, apply our stamped concrete release agent Desmocem® Powder or Desmocem® Liquid (see proportions in the technical data sheet). We recommend using the first one, except on sloping surfaces or indoor areas.
- 6
6. Stamping of concrete color hardener for stamped pavements: When the release agent has been applied, stamp the stamped paving with IMACEM® moulds. In the case of using liquid release agent, the moulds must be completely clean and previously impregnated. The placement of the stamped concrete mould must be consecutive and follow the continuity of the pieces. Afterwards, the mould must be pressed down.
- 7
7. Removal of the release agent: After at least 48 hours, remove the chosen stamped concrete release agent and clean the surface accordingly (see data sheet).
- 8
8. Application of the protective varnish: Once the surface is completely dry, protect the surface with two coats of one of our Sealcem® stamped concrete varnishes. Allow to dry and harden for 3 days before use.