Cómo aplicar microconcreto: todo lo que necesitas saber
In this exclusive section for microcement professionals, you will find multiple tips from our team of experts on how to apply microcement on walls, floors, interiors, exteriors, and pools.
Aprenderás qué tipo de microcemento es el más apropiado según la superficie a recubrir y el material existente, así como las herramientas específicas que necesitas para aplicar microcemento con un resultado óptimo: espátulas, llanas, rodillos, etc.
En esta sección también encontrarás las diferentes técnicas de aplicación de microcemento que existen dependiendo del acabado que se quiera lograr. Y es que el microcemento es un revestimiento que ofrece múltiples posibilidades decorativas.
Application of microcement step by step: application method
The application process of microcement depends on the Topciment microcement system chosen.
Although, in general terms, the application of microcement on floors and walls is:
- Preparar la superficie de trabajo, colocar la malla y aplicar la imprimación o promotor de adherencia.
- Aplicar dos capas de microcemento de preparación o base, sobre una malla, que servirá de soporte para el microcemento de acabado.
- Después, aplicar dos manos de microcemento de acabado. Este es el que combina la textura y el color deseados, dando el aspecto final a la superficie.
- Finalmente, para proteger el microcemento aplicar dos capas de Presealer y otras dos de Topsealer
Cómo aplicar microcemento en suelos
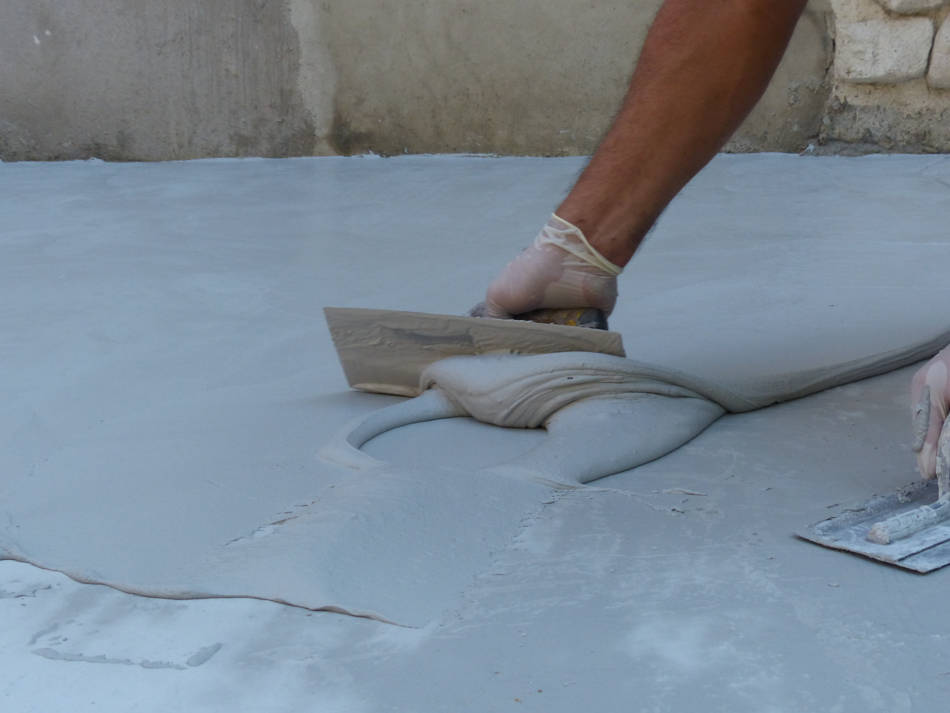
Los suelos de microcemento they are trending for being a durable and resistant decorative solution at the same time that offers a high level of customization. We teach you how to apply microcement step by step on floors , both on interior surfaces and exteriors.
En Topciment hemos desarrollado varios sistemas de microcemento (monocomponente, bicomponente y listo para usar) con los que obtener diferentes texturas y acabados. A continuación explicamos la aplicación de microcemento en suelos.
Aplicación de microcemento en suelos interiores y exteriores
Cómo aplicar microcemento bicomponente Sttandard en pisos aquí
Cómo aplicar microcemento monocomponente Evoluttion en pisos aquí
Cómo aplicar microcemento listo para usar Efectto Quartz en pisos aquí

Cómo aplicar microcemento en paredes
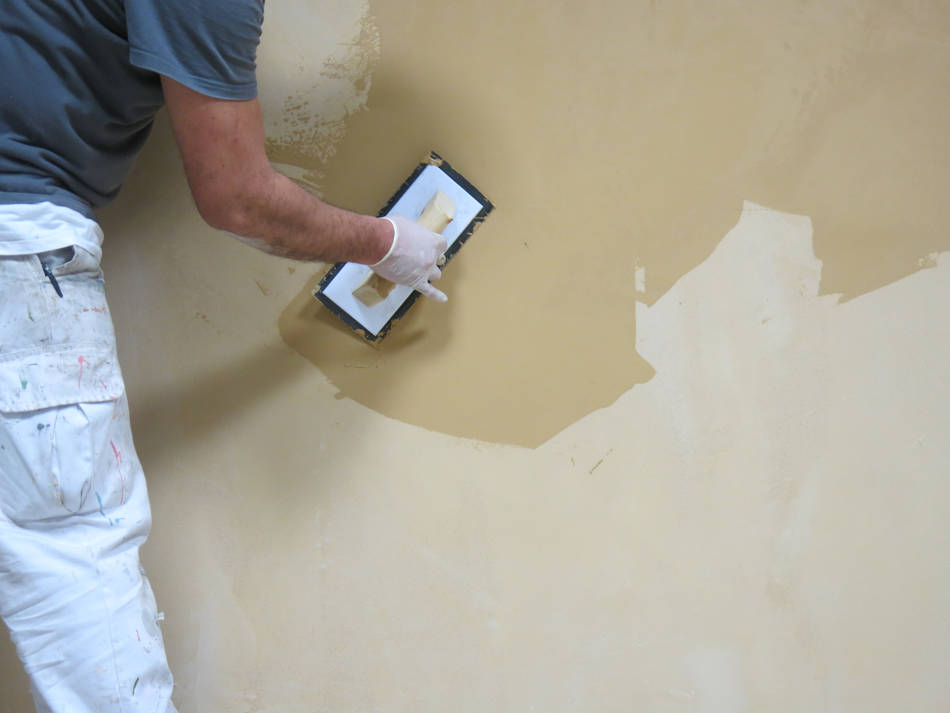
The use of microcement on walls has spread thanks to its industrial appearance, its quick installation and great adherence as well as its high resistance to cracks, among many other qualities. Therefore, it is not surprising that we find more and more microcement walls not only in private homes, but also in large commercial premises such as hotels or restaurants.
Pero, ¿cuál es la aplicación de microcemento en paredes? En esta sección te explicamos cómo aplicar microcemento en paredes , paso a paso, tanto en superficies interiores como en exteriores.
Application of microcement on interior and exterior walls
How to apply two-component microcement Sttandard on walls here
Cómo aplicar microcemento monocomponente Evoluttion en paredes aquí
How to apply ready-to-use microcement Efectto Quartz on walls here

Cómo aplicar microcemento en albercas
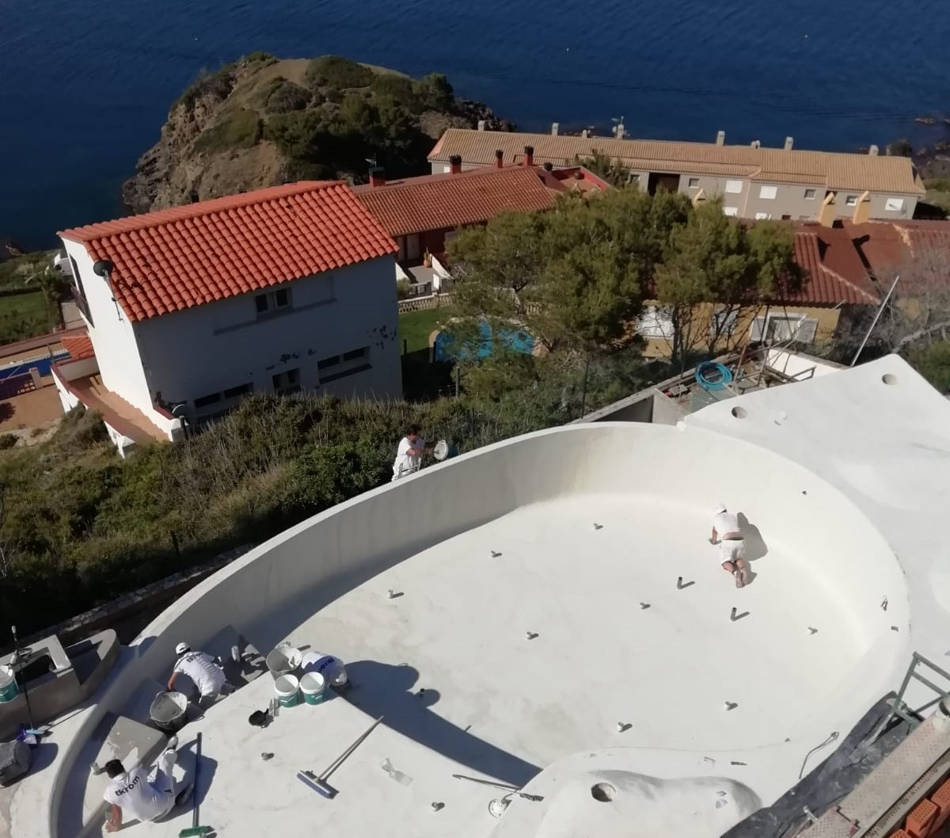
Las albercas de microcemento están de moda. Y es que la capacidad impermeable y antideslizante del microcemento son algunas de las claves de su éxito. Por no hablar de que prácticamente cualquier diseño es posible en una alberca de microcemento, tremendamente atractiva a nivel visual.
En Topciment, conscientes de las innumerables ventajas de este revestimiento decorativo para construir una alberca, hemos diseñado "Atlanttic", una línea específica de microcemento para albercas.
Aplicación del microcemento "Atlanttic" en albercas
Next, we explain the steps of the application of microcement in pools with our "Atlanttic" system. Whether it's an indoor pool or an outdoor pool, the same process must be followed.
How to apply microcement for Atlanttic pools here

Tips para aplicar microcemento correctamente
The main problems derived from microcement are due to a series of errors in the application. From not strictly following the steps or not respecting the drying hours between layers, to not taking into account the ambient temperature or not using the appropriate tools.
Por todo esto, a continuación les damos una serie de consejos para aplicar el microcemento de manera óptima.
1. Confía solo en profesionales para aplicar microcemento
The application of microcement is not as simple as it seems at first glance. A complexity that implies that it is a job that has to be done only by qualified professionals with mastery of the application technique of each microcement system.
An applicator of microcement who knows how to evaluate the support and recognize at a glance if it requires repair before applying microcement. An experienced professional who knows which is the most suitable microcement for each renovation project in function of the surface, support and finish that is sought to obtain.
2. Planea la obra antes de aplicar microcemento
Although microcement is a decorative coating that does not require construction allows for quick transformations of spaces, it is essential to carry out a detailed planning of the work before applying microcement.
Since it may be the case that depending on the construction project, other professionals may have to intervene. In this scenario, we will always leave the application of microcement for the end except for the last coat of paint, the placement of the carpentry and the sanitary ware.
3. Herramientas indispensables para aplicar microcemento
Not just any tool is suitable for applying microcement, but very specific ones whose use is common in the construction sector and which we are going to detail below.
- Cinta de pintor o papel con cinta: para proteger las áreas donde no se va a aplicar el microcemento de salpicaduras.
- Jarra medidora: el uso de la jarra permite dosificar la cantidad de resina (para los microcementos bicomponentes) o de agua (para los monocomponentes) necesaria para la mezcla.
- Mechanical stirrer of low revolutions along with double helix rod: to mix the microcement with guarantees and achieve a homogeneous mass.
- Espátula: se utiliza como apoyo a la llana.
- Llana: de varios tipos y tamaños, de acero inoxidable flexible o de goma dependiendo del material que vayamos a aplicar.
- Aspiradora industrial, lijadora roto orbital, guante de lijado y lijas de carburo de silicio: una vez que el microcemento esté seco, se deben lijar las imperfecciones y aspirar el polvo generado para continuar con el proceso.
- Rodillos: se utilizan para aplicar las imprimaciones, el sellador de poros y la aplicación de los barnices selladores.
Choose the right primer to apply microcement
Before applying microcement, it is necessary to place the fiberglass mesh and use a union bridge that favors the adhesion between the support and the future microcement coating.
But not only do primers or adhesion promoters ensure better adhesion, but they increase the cohesion of the support, improve the application speed of the first hand of microcement and also prevent the premature loss of moisture from the micro-mortar.
Not all primers are suitable for the same support. Therefore, it is very important to choose the primer that fits the characteristics of the specific substrate.
In this sense, to apply microcement on supports that are not very porous or not porous at all such as stoneware, terrazzo, tiles or marble, among others, it is necessary to use a primer for non-absorbent surfaces like Primacem Plus.
- Fill the joints with Microbase and let it dry for 24 h. If the joints are very thin we can use Microdeck or even Microfino.
- Apply a layer of Primacem PLUS using a roller along with the Builtex mesh.
- Let it dry for at least 30 minutes and apply the first coat of Microbase.
- Dejar secar 24 h, darle una mano de Primacem PLUS y aplicar la segunda mano de Microbase.
Por el contrario, si se quiere aplicar microcemento sobre soportes muy porosos tales como yeso, pladur o tableros de DM, se requerirá una imprimación para superficies absorbentes como Primacem Abs.
- Aplicar la imprimación con un rodillo común de pintor.
- Dejar actuar el puente de unión un mínimo de 30 minutos y un máximo de 24 horas antes de colocar la malla junto con la primera mano de microcemento.
Y por último, y no por ello menos importante, también se puede aplicar microcemento sobre soportes que puedan presentar humedad. En este tipo de soportes consolidados donde pueda aparecer humedad, se deberá aplicar una barrera a base de resinas epoxi para prevenir que la humedad afecte al microcemento. La imprimación Primapox®100 Barrier resuelve los problemas de humedad permitiendo aplicar sobre el soporte revestimientos de microcemento.
- Imprimación a rodillo con Primapox®100 Barrier A 0,35 kg/m2.
- Sprinkle with dry silica sand of 0.3-0.8 mm at 1kg/m2.
- Dejar secar 24 horas.
- Remove excess silica sand by sweeping and vacuuming.
- Aplicación de Primpaox Barrier mediante llana a 3 kg/m2.
Check the condition of the support before applying microcement
As previously mentioned, if the support does not meet the right conditions, the microcement cannot be applied with guarantees. Four factors of the support are what the professional will have to check before carrying out the application of the microcement.
1. Planitud del soporte
The microcement is applied in layers not exceeding 1mm, and the sum of these will not exceed four millimeters, so we will not be able to solve flatness issues with this material, we must solve the irregularities of the support before starting the application. Microcement can be applied on floors, walls and even on ceilings, the final result will depend on the support and the work of the applicator.
2. Consistencia del soporte
The application base must be stable. Supports with powdery mortars or loose tiles are not suitable, depending on their condition they will have to be removed or consolidated with quick-setting mortars, with compensated shrinkage.
3. Soporte libre de humedades
En caso de que haya humedad en el soporte, no podremos aplicar microcemento. Será necesario determinar primero su origen y eliminarla, recomendamos usar un medidor de humedad con el propósito de verificar que la humedad nunca exceda el 5%.
The support must have gone through a sufficient curing process. We must take into account that the temperature and relative humidity of the environment along with the ventilation of the workspace, affect the drying process of the mortars and accelerates or delays the curing process.
4. Proteger el área de trabajo antes de aplicar microcemento
Debemos proteger adecuadamente el área de trabajo y las superficies que no vamos a revestir, el microcemento se adhiere con mucha fuerza y es difícil de limpiar cuando se seca. Usaremos material de protección común en trabajos de pintura, como cintas de pintor, papel para proteger, plásticos para cubrir todo...
Different finishes depending on the application of microcement
Thanks to the artisanal work that involves the application of microcement, you can achieve the most diverse finishes with the same material. Finishes that will depend on the base that is used, the application method and the movement with the trowel that is made and the type of microcement as well as the color.
1. El tipo de llana que se utiliza para aplicar microcemento
The choice of trowel type will be decisive for the final appearance of the microcement coating. We have two types of trowels: rubber trowel and flexible steel trowel.
Usamos llanas de goma exclusivamente para el Microfino. Con su uso, las aguas quedan ligeramente menos pronunciadas que con la llana de acero. La llana de goma ejerce menor presión sobre el producto por lo que queda más fino.
On the contrary, the use of the flexible steel trowel is advised if a burned effect or black marks are sought.
2. La aplicación de la capa base de microcemento
Siempre decimos que hay que aplicar cada capa como si fuera la última, esto es porque debido al grosor del material, los diseños o imperfecciones de las capas anteriores, se marcan en las siguientes. Esta característica del microcemento se puede usar a nuestro favor para crear texturas.
3. El color y tipo de microcemento que se aplique
En Sttandard y Evoluttion Microfino las aguas serán más visibles que en Sttandard o Evoluttion Microdeck. Igualmente en los colores oscuros también serán más visibles, mientras que en los colores blanco y blanco roto las aguas serán casi imperceptibles, especialmente si se aplica con llana de goma.


