Venetian plaster for walls: the definitive guide of this technique
Venetian plaster is one of the most popular decorative techniques for walls and ceilings. A painting technique that dates back to the Renaissance period and that allows to renovate the rooms in your home in a simple and quick way, adding an unique and elegant touch to them.
The decorative finish achieved with venetian plaster walls perfectly simulates that of marble, an exclusive texture that adds elegance to walls and ceilings. But what exactly does venetian plaster, also known as wall stucco, consist of?
In this article we will answer the main questions about it : what is it ? its main advantages, where can it be applied and the step-by-step instructions for applying venetian plaster on walls.

What is venetian plaster?
Venetian plaster is a decorative coating that originated in Venice Italy in the 15th century. It is a decorative technique for ceilings and especially for walls, hence it is also called wall stucco, whose finish and texture resemble polished marble.
It is a finish and decorative coating for walls and ceilings, both interior and exterior. It composes of lime, powdered marble, plaster and natural pigments.
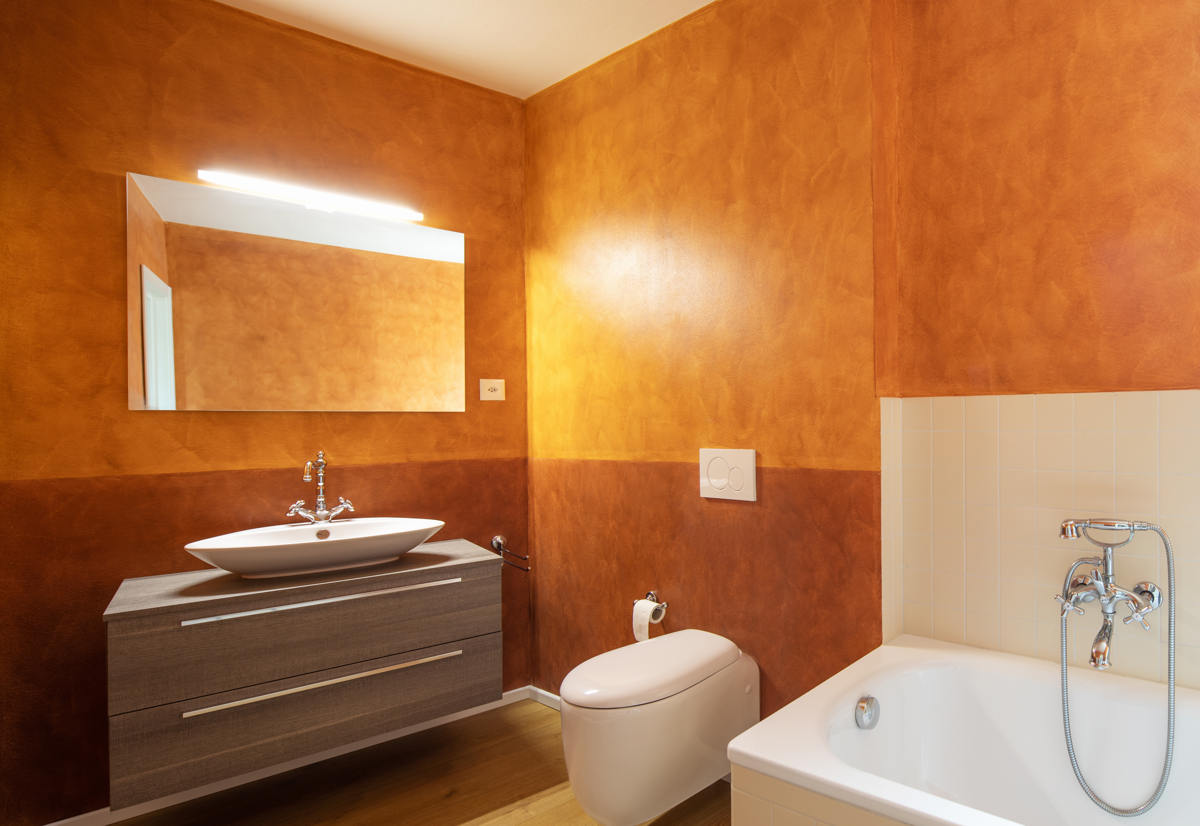
Venetian plaster for walls is available in numerous colours. Its versatility, which stands out for the resistance on walls and ceilings is beyond aesthetics. An aesthetic characterised by a smooth texture and a velvety shine.
Main characteristics of venetian plaster walls
As mentioned previously, the venetian plaster technique came from Venice, exactlly from the Renaissance period, when moulding and carving were the leading roles to obtain unique ornamentation.
Here are the main characteristics that make venetian plaster for walls one of the dominant decorative coatings 6 centuries after its origin.
• Humidity resistance and breathability of venetian plaster walls
Two advantages that make venetian plaster walls a coating that prevents accumulated and condensed damp, reinforces and waterproofs walls and ceilings and also facilitates natural breathability.
• Venetian plaster uses natural materials
The components that make up venetian plaster are natural. They are non-toxic and have anti-mould and anti-bacterial properties.
• Venetian plaster walls are very easy to clean
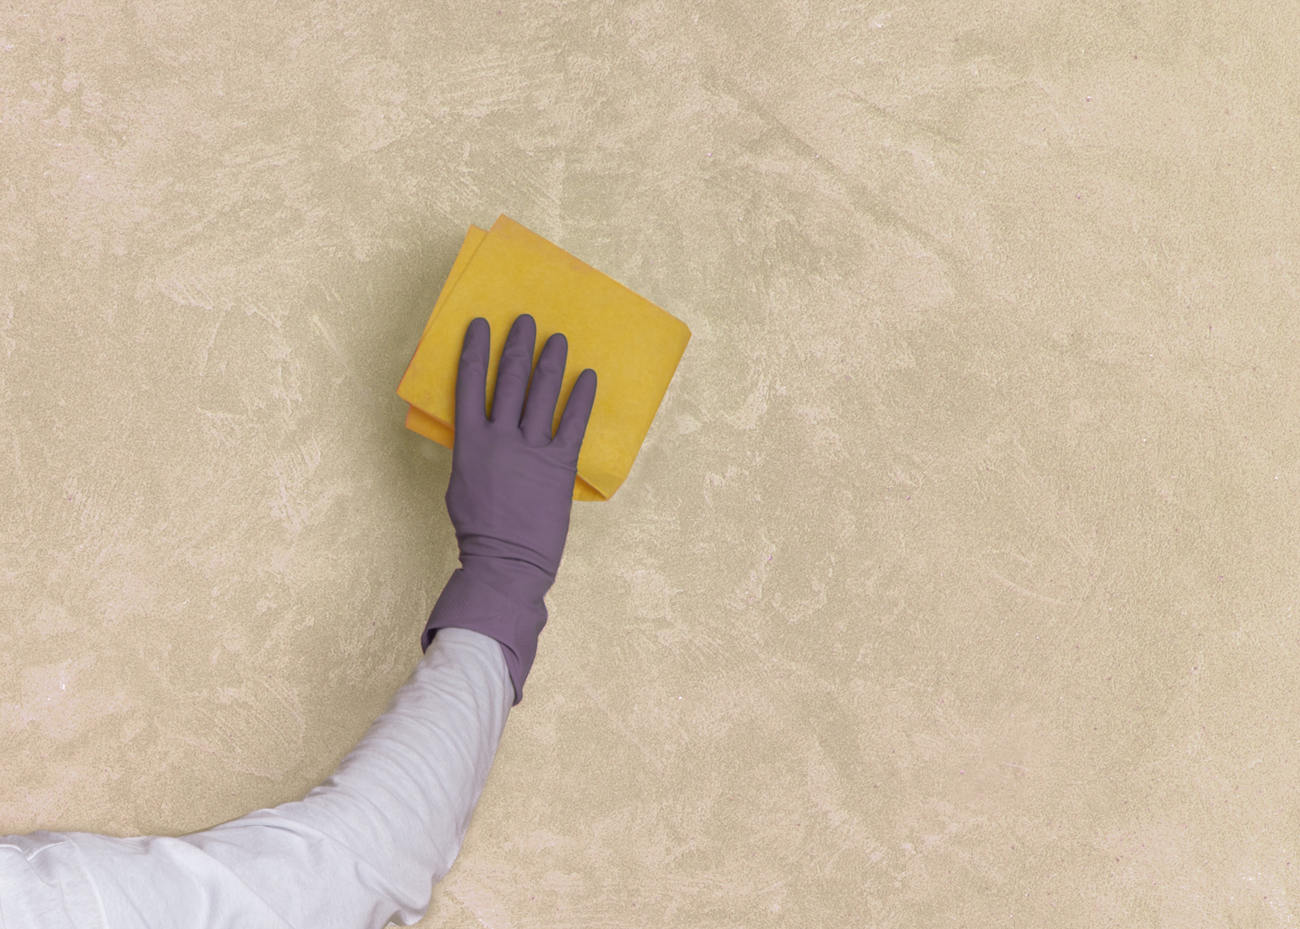
Decoration technique very easy to maintain, an added value in the choice of this wall and ceiling covering. A wet cloth is all you need to clean it.
• Venetian plaster´s high durability
Covering that has great durability, so if you choose this technique to cover walls or ceilings, you will have a coating in perfect condition for a long time
• Venetian plaster walls have a high decorative value
Venetian plaster walls are the proof that simplicity is not antagonistic to elegance. In fact, represents elegance, sophistication, excellence and even luxury, few other decorative coatings can achieve

Where can venetian plaster be used?
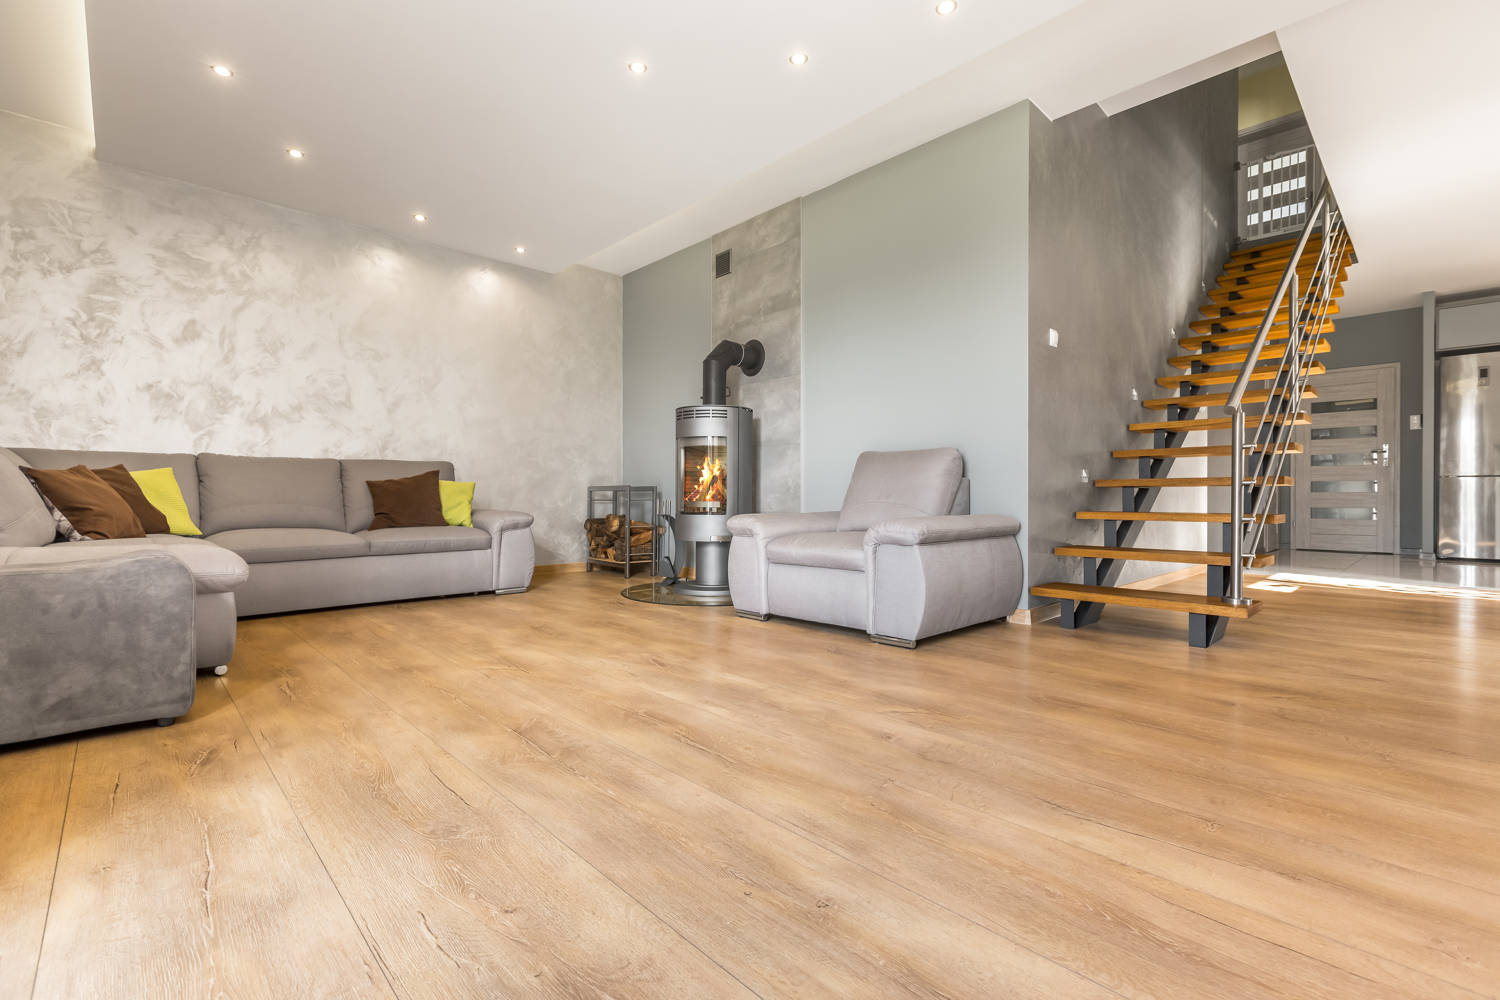
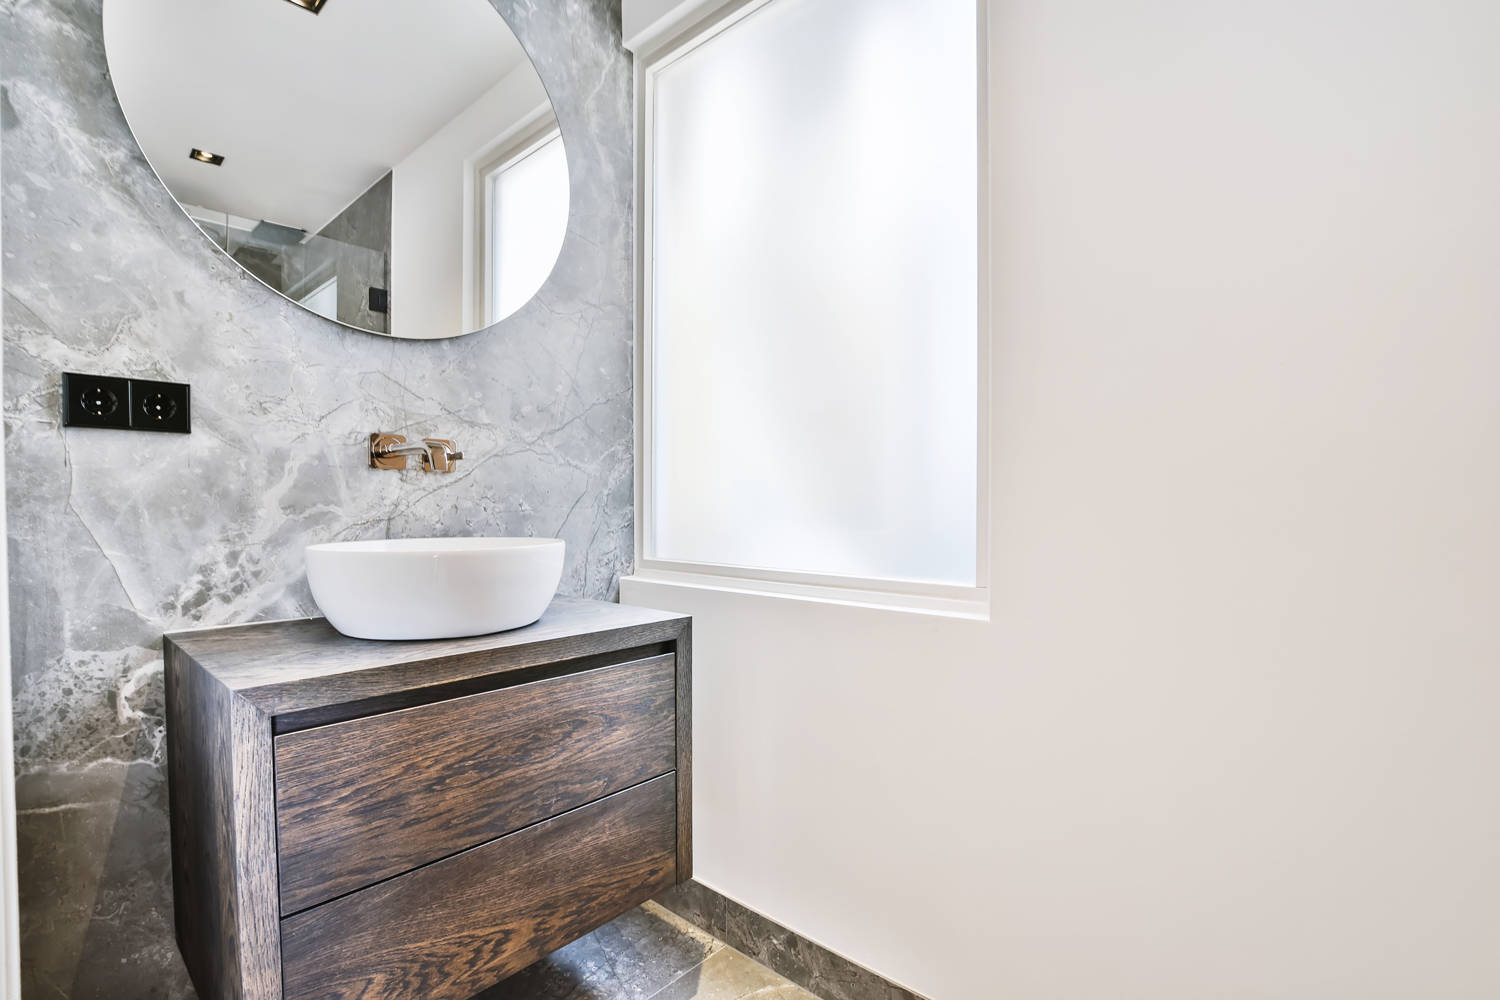
Although venetian plaster can be used outdoors, it is most commonly used to decorate interior spaces. The rooms in which this technique is most usually be seen are hallways, living rooms and bathrooms. Although it is possible to cover all the walls, we recommend using it on a single wall so that it highlights the visual impact. Another tip is that the wall on which you decide to apply venetian plaster should be a darker colour than the rest of the walls.
Deciding to use venetian plaster walls on the bedroom walls is not a bad idea. Although it is less likely to be found in bedrooms, this decorative technique is also very visually attracted. In this case lighter tones are dominate . Colours such as white, beige or grey stand out and give a new style to the main wall of bedroom so that it beams a magnificent style.
It's also often applied to ceilings, especially in rooms with high ceilings. Using this technique not only enhances the height of the room, but also creates a visual "nearness" to the floor, resulting in a cosy yet amazing room.
How to apply venetian plaster on walls: application step by step
Now that you have known exactly what venetian plaster is, where it can be used and what the most important characteristics are, you are probably wondering how to apply it on walls and ceilings.
In this section we explain the step-by-step process of applying venetian plaster on walls. Take note!
1. Make sure the walls are in good condition before applying venetian plaster
Check that the walls are in good condition: free of dust and without any irregularities, cracks or imperfections. In other words, completely smooth.
2. Mix the venetian plaster with the chosen dye
The next step is to mix the stucco paste with the chosen dye in a bucket and stir until the desired texture and colour is achieved, or you can buy a stucco paint, a ready-to-use paste already pigmented and ready to decorate the wall.
3. Apply first coat of venetian plaster
Now it is time to start decorating the wall or ceiling with venetian plaster. Apply the first coat of venetian plaster evenly with a trowel so that the surface is as smooth as possible.
When the wall is completely covered, leave to dry for at least 6 hours. After the time, use a spatula or sandpaper to smooth the surface and remove any remaining burrs.
4. Apply a second coat of venetian plaster
Apply a second coat of venetian plaster to the wall or ceiling following the same process as in the previous step. In this case, let it dry for 24 hours and use a cloth to wipe off the dust.
5. Apply the third coat of venetian plaster
Apply the third and final coat of venetian plaster. Unlike the previous two coats, do it in an irregular manner and purposely leave points of the wall or ceiling unfilled. Allow to dry for about 30 minutes.
6. Polishing to achieve the marble effect
The last step consists of applying a layer of wax to polish the wall or ceiling on which the venetian plaster decorative technique has been used. This wax leads to the marble effect that is the main characteristic of venetian plaster.
A wax that not only gives the surface a shine, but also protects the venetian plaster wall. The method of use of the wax is to apply it in a circular motion.
Venetian plaster price per square metre
The price of venetian plaster per square metre is between 80 and 100 euros. A cost that can vary depending on different variables: the rates of each professional, which include travel expenses; the type of stucco; the quality of the material; the state of the wall; and the size of the wall, among others.
Type of venetian plaster for the wall
Depending on the finish you want to achieve on the wall, and therefore the technique used, will determine a more affordable or higher price. While the application of traditional venetian plaster is cheaper, the use of more modern products increases the final cost.
Dimension of the wall where venetian plaster is to be applied
The square metres of the wall or ceiling are decisive for the price of venetian plaster. As a general rule, the applicator can offer a special rate for larger and more prominent surfaces in order to reduce the final cost.
Contracted labour for venetian plaster application
In relation to the previous variable, labour also influences the price. Each professional has specific application rates and uses a type of material that may be more or less expensive. Likewise, travelling can also increase the price per square metre.
Whether the future venetian plaster wall needs to be repaired
Although it is not a variable that depends on venetian plaster wall in itself, the price increases if the support on which this decorative technique is to be used is in poor condition. A substrate that will require conditioning and repair treatment prior to the application of the stucco. In some cases, the cost can be considerably higher.
How to repair damaged venetian plaster
If venetian plaster becomes damaged over time and cracks and fissures appear in the wall or ceiling, it will need to be repaired to prevent further deterioration of the surface. These problems can be compounded by a loss of colour over time.
Whatever the reason why the substrate has been affected, the repair is not simple and can only be carried out by an experienced professional. Below we will explain how to repair venetian plaster depending on the damage.
1. Repainting the venetian plaster wall that has faded
The colour of venetian plaster changes over the years. If you only notice a decrease in the intensity of the colour, the solution is very easy: repaint the wall!
2. Putty or acrylic paint for small cracks and fissures in venetian plaster
For small cracks or fissures in the wall or ceiling, use acrylic paint or putty to repair the substrate. Smooth and smooth the surface to make it homogeneous. Both the part that has been repaired and the part that has not, so that there are no visual contrasts. Then reapply the product as if you were applying the venetian plaster for the first time.
3. Cutter for larger cracks and holes in the venetian plaster
If, on the other hand, the cracks or fissures are larger and even a hole has been made in the surface, it will be necessary to use a chisel and mallet to remove the damaged area of venetian plaster wall. When there are no more imperfections, the product should be reapplied.

How to remove venetian plaster from walls
Are you bored of venetian plaster on your walls and don't know how to remove it? You have several alternatives to do it and apply a new decorative coating. Pay attention:
1. Remove the wax or varnish from venetian plaster
If when you decided to coat the wall or ceiling with this decorative technique, the applicator used a wax or varnish, it is necessary to remove it. How? Using a damp cloth with turpentine, solvent or a similar product.
2. Sand the wall or ceiling
To remove the venetian plaster coating, the first step is to sand the surface. Sand the surface thoroughly to open up the pores so that there are no problems with the adhesion of the paint that will be used later.
3. Apply a primer to remove the venetian plaster
Then apply several coats of primer which, in addition to the previous sanding, will facilitate the adhesion of the new paint or decorative coating. This ensures a long-lasting finish.
4. Fit the new coating
Some, but not all, specialists advise re-sanding the wall or ceiling before painting. Regardless of which choice you make, what is mandatory is to apply the paint or the new coating that will replace the venetian plaster.
How to clean the venetian plaster wall easily
To ensure that your venetian plaster wall is always smooth and shiny, it is necessary to clean it regularly. We advise you to use specific wax-based products because they prevent mould and mildew from appearing on the walls over time. However, you can also use more traditional products that we all have at home. Pay attention!
1. Mix hot water with neutral soap
With a clean sponge or cloth, apply hot water previously mixed with neutral soap on the wall or ceiling until no stains or dust remain.
2. Let the surface dry
Once the wall or ceiling is completely clean, let the surface dry.
3. Apply the wax
Varnish the venetian plaster wall using a special gauze. Apply the varnish evenly over the entire surface.
4. Go over the venetian plaster with a woollen glove
Spread the freshly applied wax in a circular motion. This will clean the venetian plaster and at the same time bring out its characteristic glossy finish.
Microcement, the best substitute for venetian plaster for walls
Venetian plaster walls were, are and will continue to be a decorative trend. What if we told you that there is another decorative coating that offers the same finish as venetian plaster but cheaper and with more advantages?
This is the case of microcement on walls , a decorative stucco capable of providing the same texture as venetian plaster walls and which is also equally resistant to environmental humidity, impermeable to running water if a sealant is used and very durable.
In addition, microcement allows walls and ceilings to be renovated just as quickly as venetian plaster and without the need for building work or debris. Not to mention that it is resistant to sunlight (it can therefore be used outdoors), is cheaper and resists abrasion, wear and tear and friction. And best of all, as it is compatible with practically all types of materials (tiles, ceramics, tiles, cement, plaster, plasterboard...), it can be applied in many more rooms, thus considerably expanding the range of possibilities.
Subscribe to our newsletter
Receive in your email tips for the application and care of microcement, the latest trends and news about Topciment products.


