How to stamp concrete correctly
Stamped concrete is a decorative technique that allows unlimited customisation of any surface. With it, you can quickly and easily imitate the appearance of noble materials such as cobblestones, brick, stone, tiles, slate or wood, among many others.
A versatile material that is often found in public areas such as roads, highways, squares, parks and shopping centres. But it is also very common to find in porches, terraces and entrances to residential areas. Usually outdoors, but lately the use of stamped concrete indoors is gaining momentum. Especially in printed paving in large warehouses and spaces such as car parks, sports centres, hotels, shopping centres and restaurants.
But how is stamped concrete made? The first thing you should know is that the application method varies depending on the surface where you want to apply this coating. In this sense, the treatment on floors and walls is not the same, although the final results are equally spectacular.
Below, we explain how to make stamped concrete on floors and pavements, and also how to apply vertical stamped concrete on walls, façades and walls.
How to stamp concrete on floors: step-by-step application
Stamped concrete on floors, both indoors and outdoors, is the most common use of this floor covering. Some of the most eye-catching stamped paving can be found in parks, terraces, squares, outdoor car parks, shopping centre exteriors or entrances to residential areas.
In this section we explain how to make stamped concrete floors and pavements, step by step, to ensure the success of the work. Failure in any of the steps can be fatal.
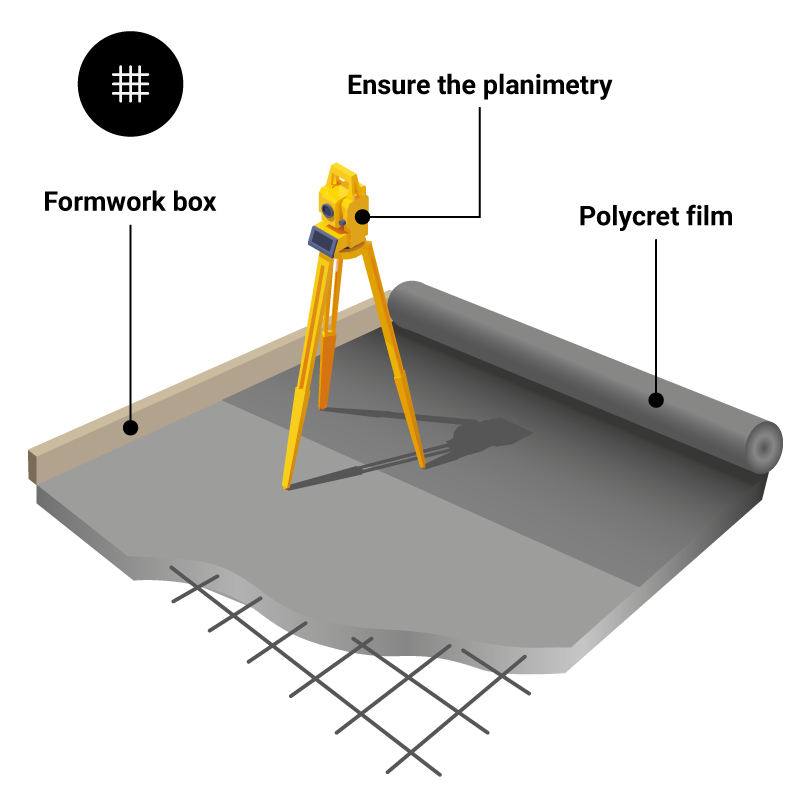
1. Prepare the pavement before pouring the concrete
It is essential that the floor on which the fresh concrete is to be poured is in perfect condition, as it directly affects both the performance and durability of the future stamped pavement. For this purpose, the surface must be cleared of any elements that could be an obstacle, such as leaves or stones. This is the only way to ensure a clean and high quality surface.
To ensure the planimetry of the stamped concrete pavement, the levels and slopes of the ground must be prepared. A 400 gauge polycret film is applied to the base to prevent the concrete from dehydrating and a perimeter joint is placed to delimit the areas to be filled with concrete by placing a formwork box.
Before applying the concrete on the pavement, it is essential to pour the gravel, sand and compact the substrate.
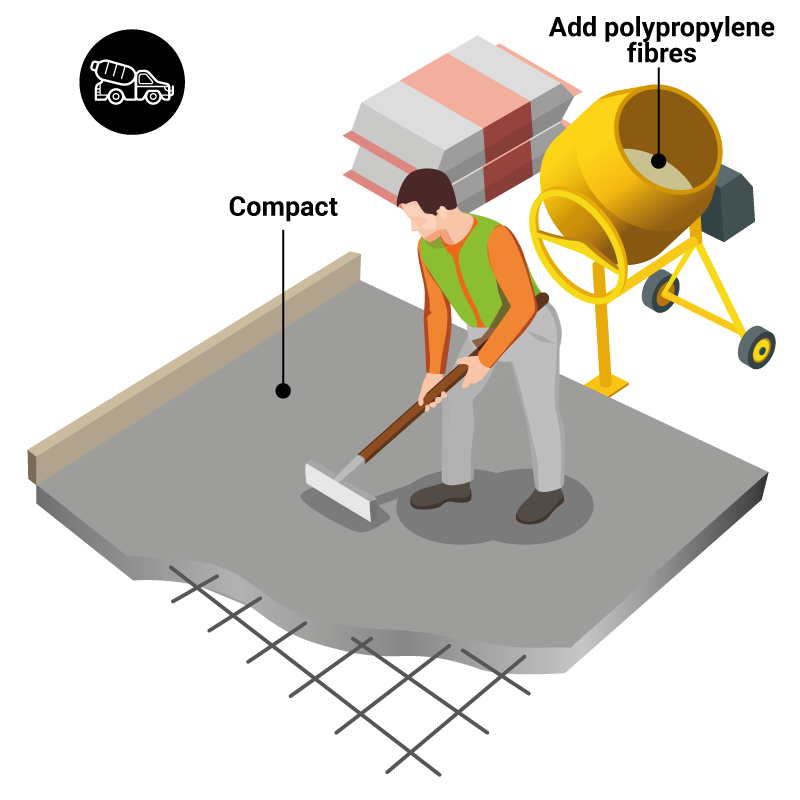
2. Pouring the concrete on the floor
Once the substrate is prepared, it is time to pour the concrete evenly to prevent problems in the future. The concrete layer must be perfectly level and compacted. Add polypropylene fibres to the concrete to improve its strength. A steel mesh and gasket should also be used at all perimeters and junctions with fixed elements.
If any of the following cases occur, the pouring of the concrete on the floor or pavement must be interrupted:
If a possible drop in temperatures, below 0°C, is foreseen during the first 48 hours.
If the temperature of the concrete is below 10ºC or if the ambient temperature exceeds 30ºC.
If there is excessive wind. A condition that may cause the surface to dry out.

3. Levelling and levelling of the concrete applied on the floor
Use a roller to compact and indent the concrete. For smoothing or levelling the concrete floor, use a trowel or levelling machine. In order to make stamped concrete correctly, it is essential that there is no mechanical vibration during levelling.
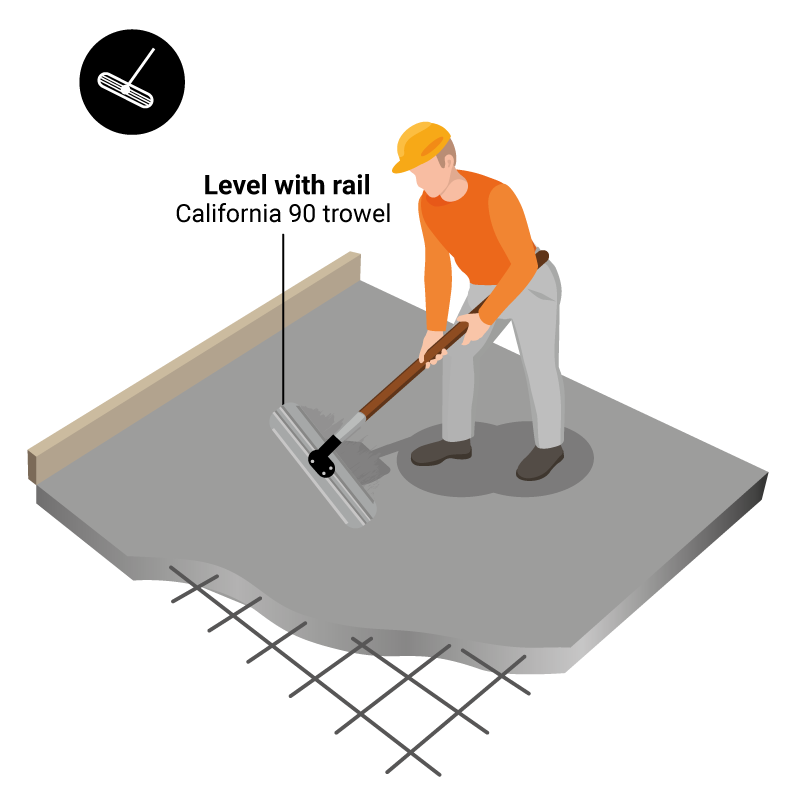
4. Trowelling the concrete
While the concrete is still fresh, trowelling should be carried out to obtain a uniform, compact, resistant, smooth and durable pavement. Skipping this step could cause blistering and lamination due to excess moisture.
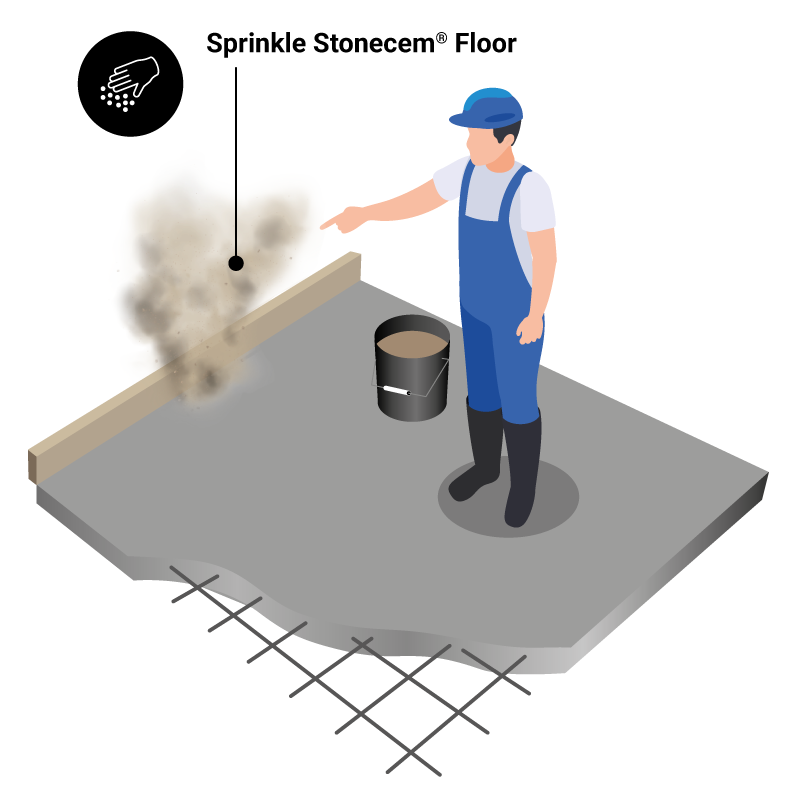
5A. Sprinkle the concrete color hardener for pavements or stamped mortar on the screed.
Once the exudation water has evaporated from the concrete, sprinkle the corresponding coloured hardener or stamped mortar on the screed. In our case, Stonecem® Floor with a proportion from 4 Kg/m² for dark colours to 6 Kg/m² for light colours.
When making stamped concrete on floors, it is very important to sprinkle the right amount of product. Otherwise the result of the stamped concrete floor will not be as desired.
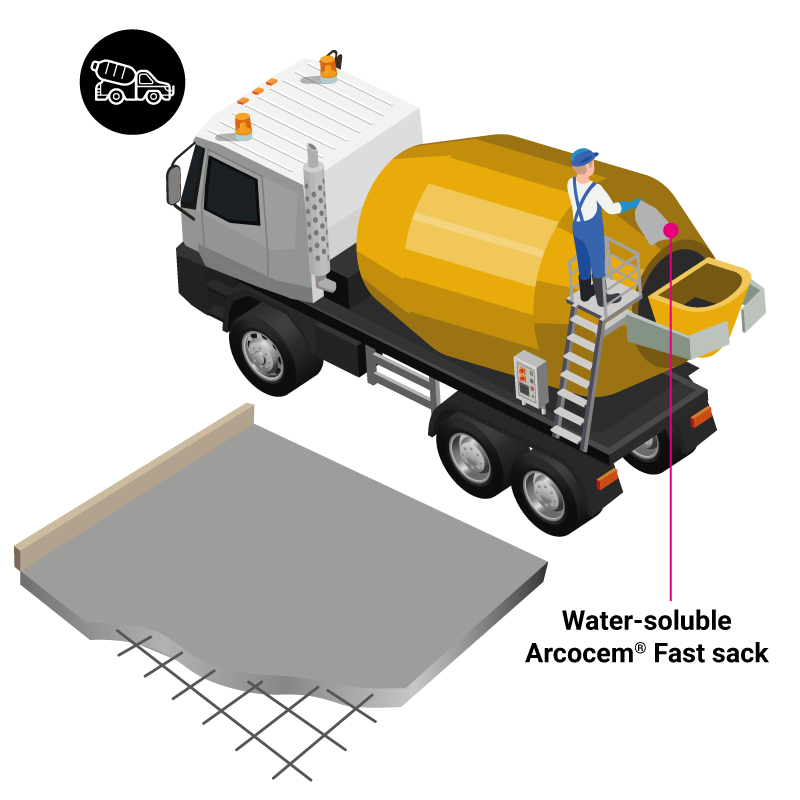
5B. Colouring of the mass concrete
In addition to dusting, which is the traditional technique for pigmenting concrete flooring, another system is to use a powder pigment such as Arcocem® Fast. This method consists of introducing two sacks per cubic metre of surface to be covered into the concrete mixer. The product is left for five minutes to mix with the concrete until a homogeneous and uniform mass is achieved. Once it is ready, the concrete is poured onto the substrate.
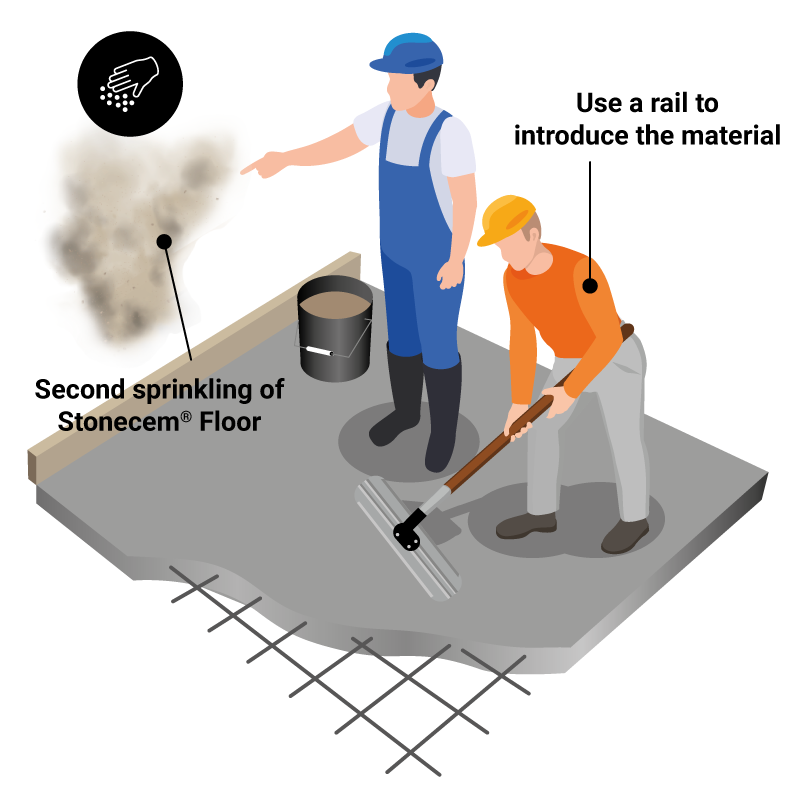
Apply the concrete color hardener for pavements or stamped mortar applied on the floor
Apply 2/3 of the specified amount of Stonecem® Floor concrete color hardener for pavements or stamped mortar and introduce the material into the concrete using a standard trowel. Then apply the rest of the product and re-drill until the desired finish is achieved.
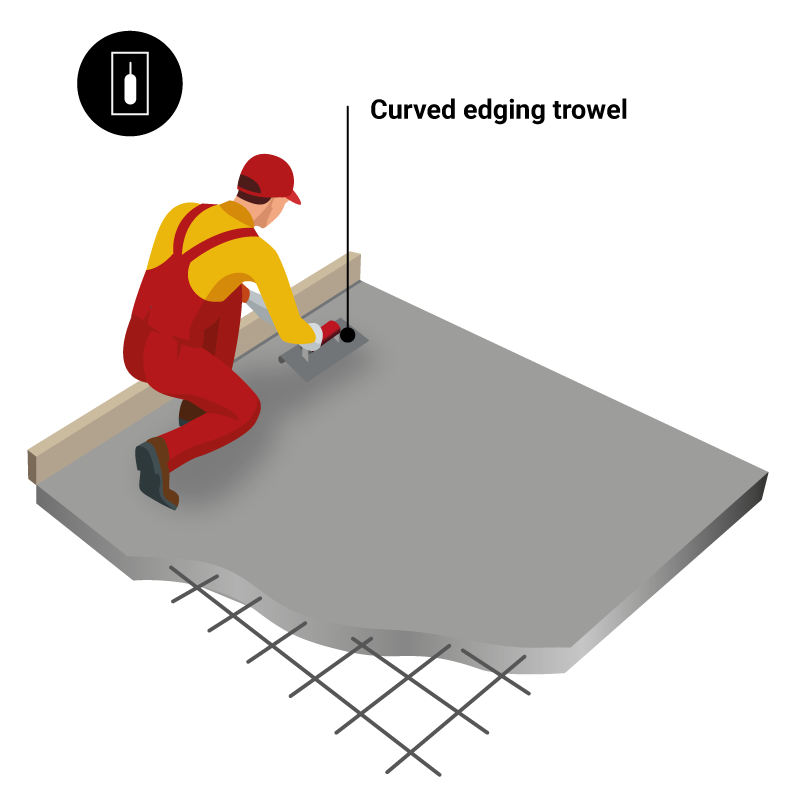
7. Smoothing the future stamped flooring
The surface must be completely smooth and free of irregularities. To do this, use a steel trowel to ensure that the surface is free of porosities and completely homogeneous. The edges of the concrete pavement should be smoothed with an edging trowel to avoid spalling.
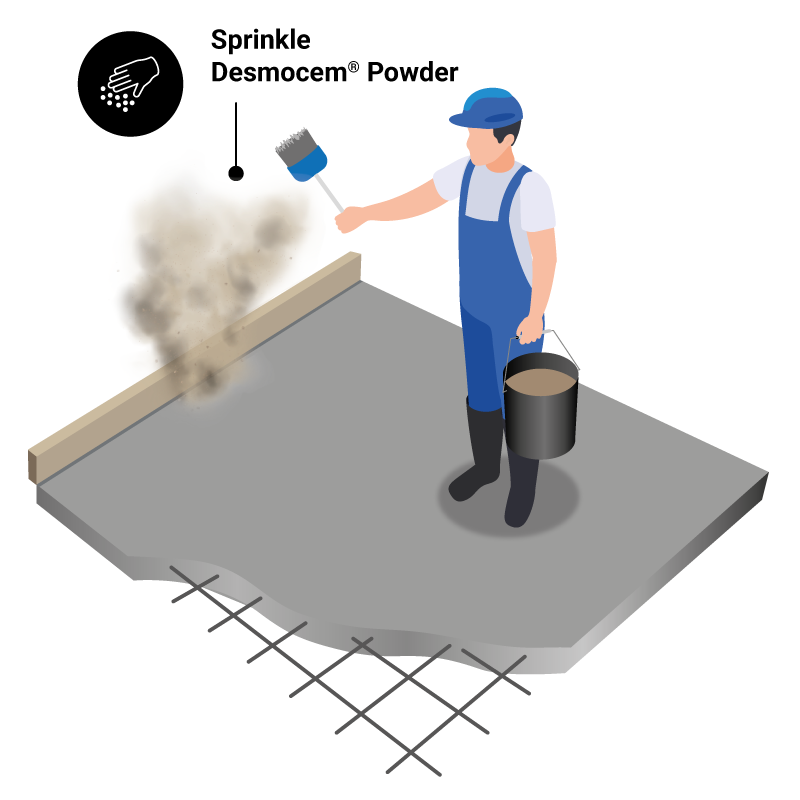
8. Apply the release agent for stamped concrete on the pavement
Once the mortar has set, ensure that the future stamped paving has a firm but not hard appearance. And, above all, that the surface is free of water. Once this has been checked, apply the chosen release agent for stamped concrete.
Within the Desmocem® family, we have powder release agents (Desmocem® Powder) and liquid stamped concrete release agents (Desmocem® Liquid). We recommend using the former, except in interior spaces.
It should be noted that Desmocem® Powder mould release agent for powdered stamped concrete is coloured, which can be of the same shade as the coloured hardener, or different if an aged effect is desired. Both favour the extraction of the stamped concrete mould once it has been stamped on the pavement. The proportions are: 100 gr/m² and 125 mL/m² respectively.
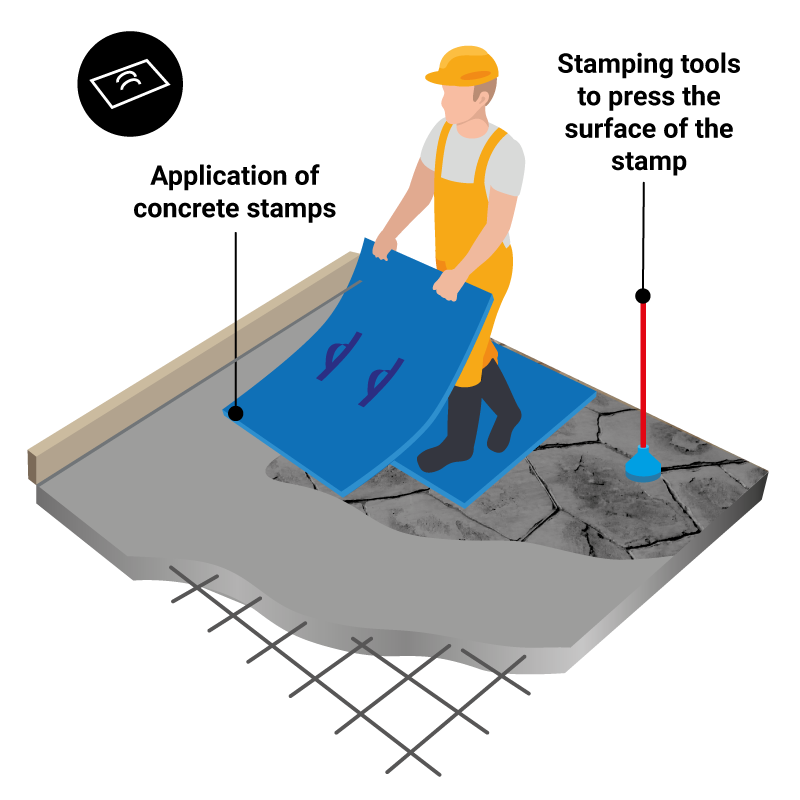
9. Priming of the stamped concrete mould on the floor
In order to apply the stamped concrete on the floor, it is essential to choose a mould and stamp it on the surface. Without this element, we would be talking about a different decorative technique. At Imacem, we have more than 150 types to impregnate the floor in a certain way.
Once the stamped concrete mould has been selected, stamp it onto the surface to prime it. The placement of the mould on the floor must be consecutive and follow the continuity of the pieces. Use a rammer to make it easier to engrave the mould.
Once this is done, carefully remove the mould from the floor and place it on the rest of the untreated surface of the stamped concrete floor. It is very important to respect the pattern created for an optimum result.
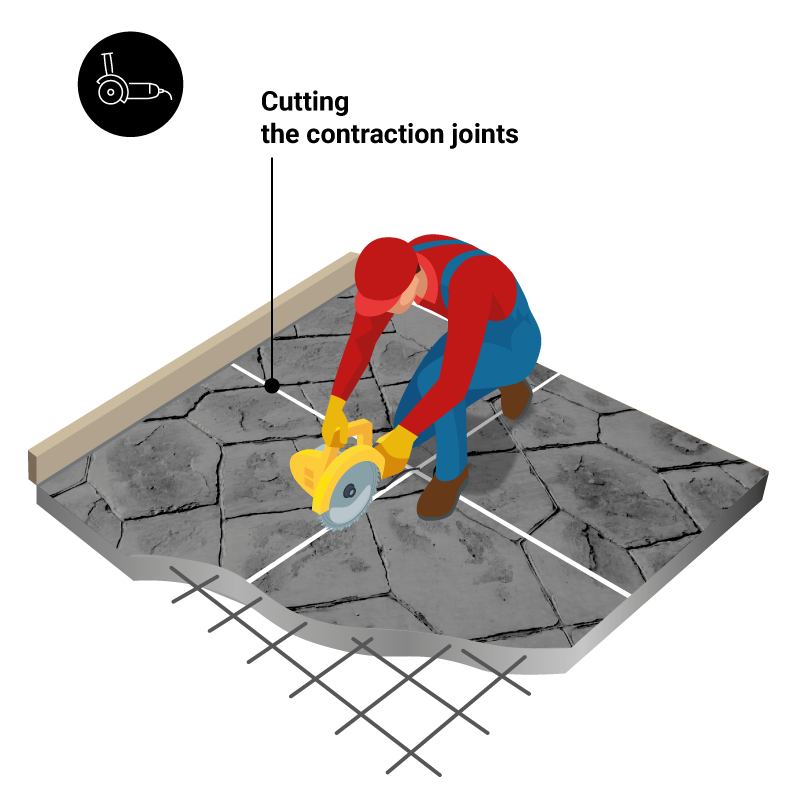
10. Removing the stamped concrete release agent from the floor
If the expansion joints were not initially planned, make the cuts according to the project and within 24 hours of laying. At least 48 hours later, remove the release agent for stamped concrete from the floor.
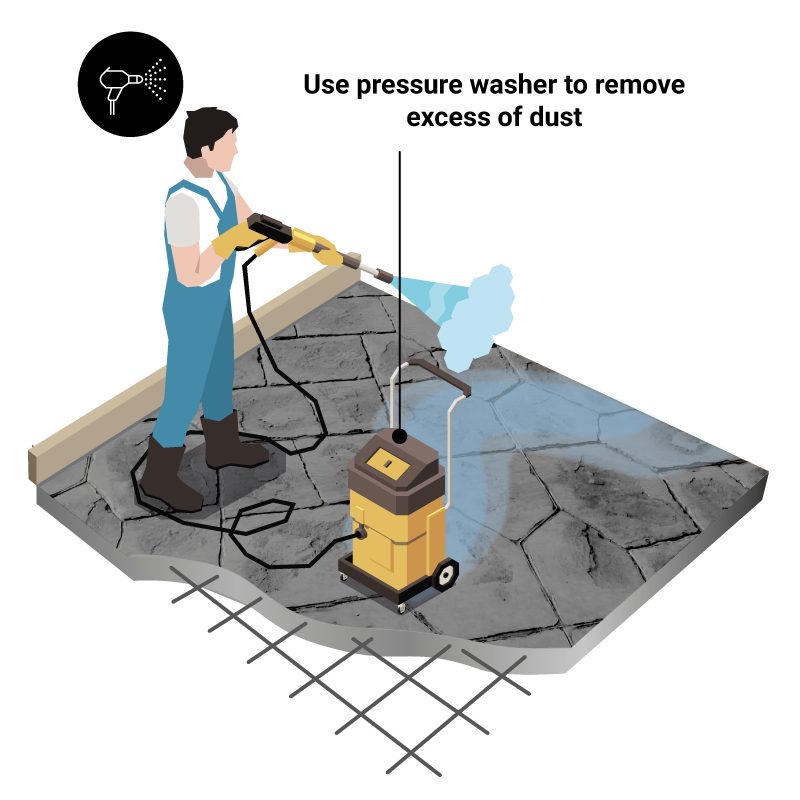
11. Clean the stamped floor screed
72 hours later, rinse the treated surface with water to remove product residues and allow to dry. To clean the stamped paving, a pressure washer with a pressure of approximately 90 bar can be used, applying the water gun at a prudential distance of 50 centimetres and with the nozzle in fan position.
Never, under any circumstances, apply a jet of water directly onto the surface. If the release agent for stamped concrete used is Desmocem® Liquid, clean the stamped flooring by sweeping.
We recommend using our cleaners Ecoclean Pro or Ecoclean Construction. The latter is very useful to avoid efflorescence after the use of Desmocem® Powder. A detergent that removes limescale, saltpetre, grout, cement residues, etc. After application, leave the product to act for 5 to 15 minutes. Once the time has elapsed, rinse the stamped floor with water and leave to dry.
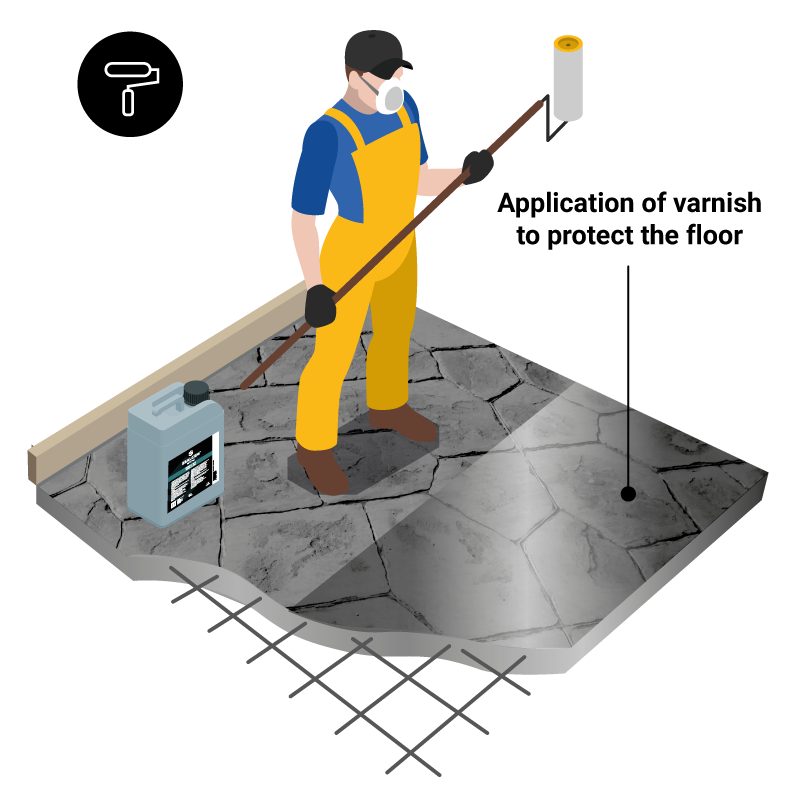
12. Apply the varnish to protect the stamped paving
The last step in making stamped concrete floors is undoubtedly one of the most important. Only a good protection can ensure the durability and good condition of the pavement. At Topciment we have developed the Sealcem® family of varnishes, where there are water-based varnishes and solvent-based varnishes. The choice of one type or the other depends on the gloss and finish you are looking for.
Once the stamped floor has dried, apply two coats of any of our Sealcem® varnishes. Do this by airless, brush or roller and allow to dry. Although our varnishes have an excellent resistance to weathering, and therefore, to different weather conditions such as water, wind and sun; we recommend renewing the varnish.


