How to apply microcement: everything you need to know
In this exclusive section for professionals in microcement, you will find multiple tips from our team of experts on how to apply microcement on walls, floors, interiors, exteriors and swimming pools.
You will learn what type of microcement is most appropriate depending on the surface to cover and the existing material, as well as the specific tools you need to apply microcement with an optimal result: spatulas, trowels, rollers, etc.
In this section you will also find the different techniques for applying microcement that exist depending on the finish you want to achieve. And it is that microcement is a coating that offers multiple decorative possibilities.
Application of microcement step by step: application method
The application process of microcement depends on the Topciment microcement system chosen.
Although, in general terms, the application of microcement on floors and walls is:
- Condition the work surface, place the mesh and apply the primer or adhesion promoter.
- Apply two coats of preparation or base microcement, on a mesh, which will serve as a support for the finishing microcement.
- Next, apply two coats of finishing microcement. This is the one that combines the desired texture and color, giving the final appearance to the surface.
- Finally, to protect the microcement apply two coats of Presealer and two more of Topsealer
Cómo aplicar microcemento en suelos
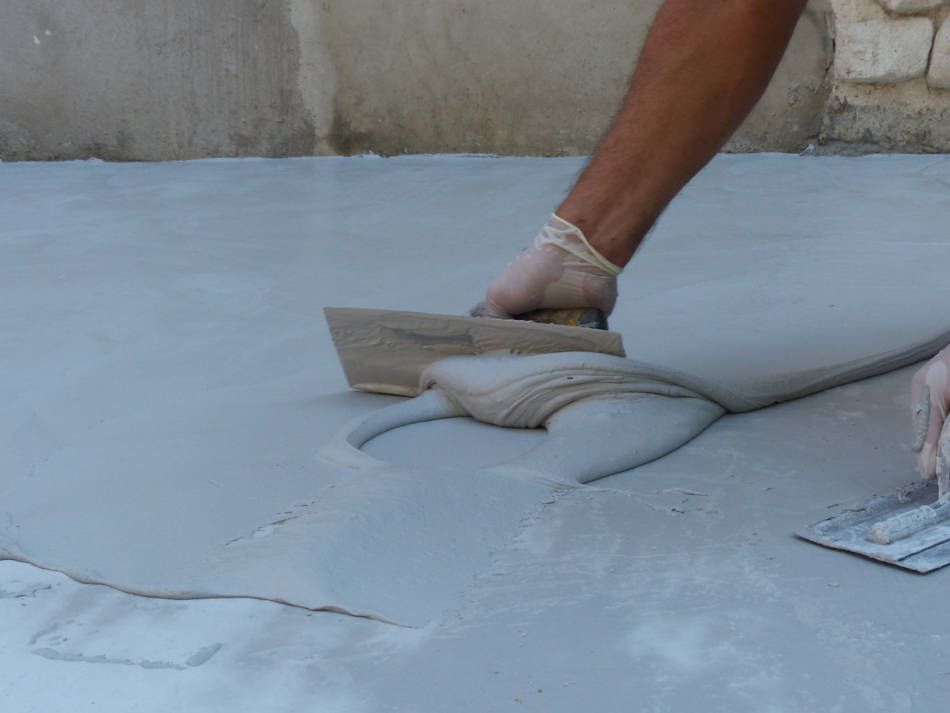
Los suelos de microcemento they are trending for being a durable and resistant decorative solution at the same time that offers a high level of customization. We show you how to apply microcement step by step on floors , both on interior surfaces and exteriors.
At Topciment we have developed several microcement systems (monocomponent, bicomponent and ready to use) with which to obtain different textures and finishes. Below we explain the application of microcement in suelos.
Aplicación de microcemento en suelos interiores y exteriores
How to apply two-component microcement Sttandard on floors here
How to apply single-component microcement Evoluttion on floors here
How to apply ready-to-use microcement Efectto Quartz on floors here

How to apply microcement on walls
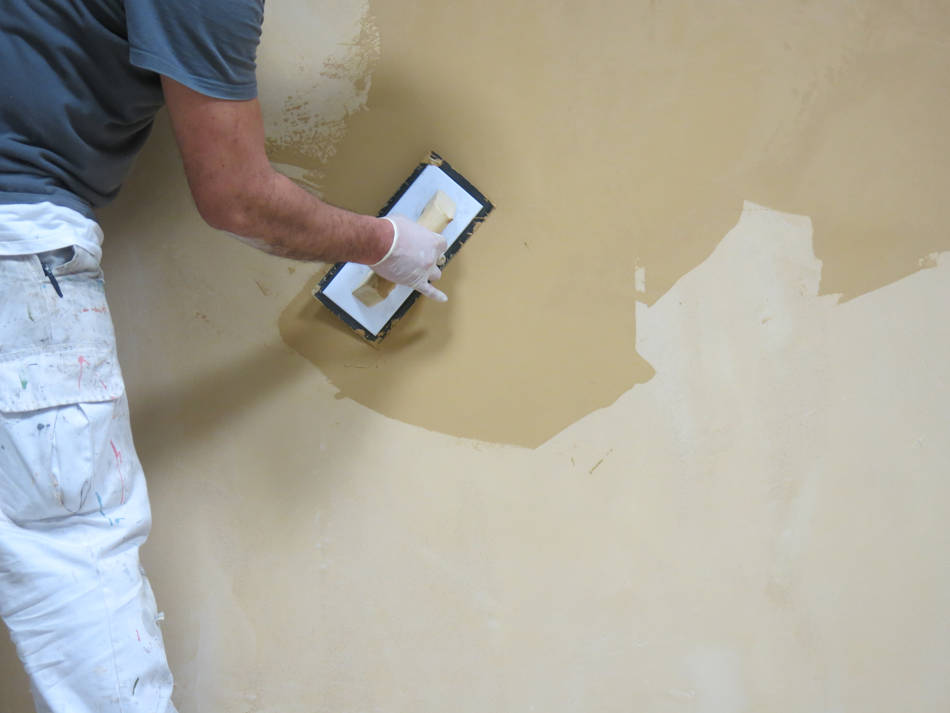
The use of microcement on walls has spread thanks to its industrial appearance, its quick installation and great adhesion as well as its high resistance to cracks, among many other qualities. Therefore, it is not surprising that we find more and more microcement walls not only in private homes, but also in large commercial premises such as hotels or restaurants.
But, what is the application of microcement on walls? In this section we explain how to apply microcement on walls, step by step, both on interior surfaces and on exteriors.
Application of microcement on interior and exterior walls
How to apply two-component microcement Sttandard on walls here
How to apply single-component microcement Evoluttion on walls here
How to apply ready-to-use microcement Efectto Quartz on walls here

How to apply microcement in swimming pools
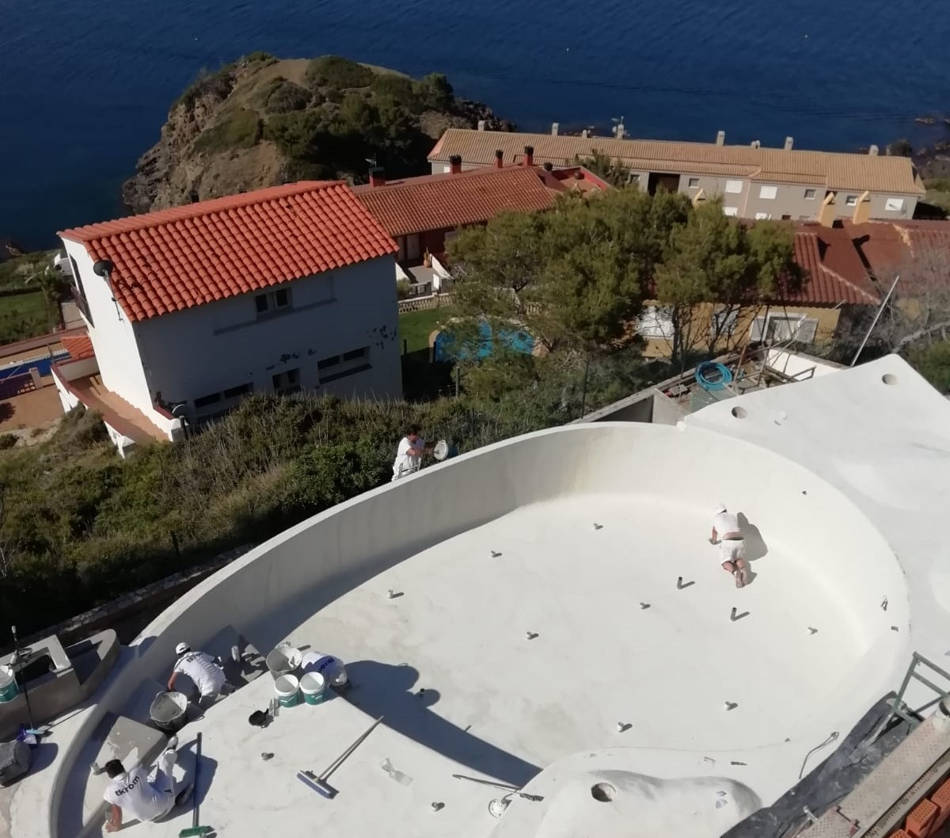
Microcement pools are in fashion. And it is that the waterproof and non-slip capacity of microcement are some of the keys to its success. Not to mention that practically any design is possible in a microcement pool, tremendously attractive at a visual level.
At Topciment, aware of the countless advantages of this decorative coating for building a pool, we have designed "Atlanttic", a specific line of microcement for pools.
Application of the microcement "Atlanttic" in swimming pools
Next, we explain the steps of the application of microcement in pools with our "Atlanttic" system. Whether it's an indoor pool or an outdoor pool, the same process must be followed.
How to apply microcement for Atlanttic pools here

Tips for applying microcement correctly
The main problems derived from microcement are due to a series of errors in the application. From not strictly following the steps or not respecting the drying hours between layers, to not taking into account the ambient temperature or not using the appropriate tools.
For all these reasons, we are giving you a series of tips to apply the microcement in an optimal way.
1. Trust only professionals to apply microcement
The application of microcement is not as simple as it seems at first glance. A complexity that implies that it is a job that must be carried out only by qualified professionals with mastery of the application technique of each microcement system.
A microcement applicator who knows how to evaluate the support and recognize at a glance if it requires repair before applying microcement. An experienced professional who knows which is the most suitable microcement for each renovation project depending on the surface, support and finish that is sought to be obtained.
2. Plan the work before applying microcement
Although microcement is a decorative coating that does not require construction allows for quick transformations of spaces, it is essential to carry out a detailed planning of the work before applying microcement.
Since it may be the case that depending on the construction project, other professionals may have to intervene. In this scenario, we will always leave the application of microcement for the end except for the last coat of paint, the placement of the carpentry and the sanitary ware.
3. Essential tools for applying microcement
Not any tool is suitable for applying microcement, but very specific ones whose use is common in the construction sector and that we are going to detail below.
- Masking tape or paper with tape: to protect areas where the microcement will not be applied from splashes.
- Measuring jug: the use of the jug allows to dose the amount of resin (for the bicomponent microcements) or water (for the monocomponents) necessary for the mix.
- Low-speed mechanical stirrer with double helix rod: to mix the microcement with guarantees and achieve a homogeneous mass.
- Spatula: it is used as support for the trowel.
- Trowel: of various types and sizes, flexible stainless steel or rubber depending on the material we are going to apply.
- Industrial vacuum cleaner, roto orbital sander, sanding glove and silicon carbide sandpapers: once the microcement is dry, imperfections must be sanded and the generated dust vacuumed to continue with the process.
- Rollers: they are used to apply primers, pore sealers and the application of the barnices selladores.
Choosing the right primer to apply microcement
Before applying microcement, it is necessary to place the fiberglass mesh and use a bonding bridge that promotes adhesion between the support and the future microcement coating.
But not only do primers or adhesion promoters ensure better adhesion, but they increase the cohesion of the support, improve the application speed of the first hand of microcement and also prevent the premature loss of moisture from the micro-mortar.
Not all primers are valid for the same support. Therefore, it is very important to choose the primer that fits the characteristics of the specific substrate.
In this sense, to apply microcement on supports that are little or not porous at all such as stoneware, terrazzo, tiles or marble, among others, it is necessary to use a primer for non-absorbent surfaces like Primacem Plus.
- Fill the joints with Microbase and let it dry for 24 h. If the joints are very thin we can use Microdeck or even Microfino.
- Apply a layer of Primacem PLUS using a roller along with the Builtex mesh.
- Allow to dry for at least 30 minutes and apply the first coat of Microbase.
- Let it dry for 24 h, apply a coat of Primacem PLUS and apply the second coat of Microbase.
On the contrary, if you want to apply microcement on very porous supports such as plaster, plasterboard or DM boards, a primer for absorbent surfaces like Primacem Abs will be required.
- Apply the primer with a common painter's roller.
- Allow the bonding bridge to act for a minimum of 30 minutes and a maximum of 24 hours before placing the mesh along with the first coat of microcement.
And last but not least, microcement can also be applied on supports that may present moisture. In these types of consolidated supports where moisture may appear, a barrier based on epoxy resins should be applied to prevent the moisture from affecting the microcement. The Primapox®100 Barrier primer solves the moisture problems allowing to apply microcement coatings on the support.
- Roller priming with Primapox®100 Barrier A 0.35 kg/m2.
- Sprinkle with dry silica sand of 0.3-0.8 mm at 1kg/m2.
- Let dry for 24 hours.
- Remove the excess silica sand by sweeping and vacuuming.
- Application of Primpaox Barrier using trowel at 3 kg/m2.
Check the condition of the support before applying microcement
As previously mentioned, if the support does not meet the right conditions, the microcement cannot be applied with guarantees. Four factors of the support are what the professional will have to check before carrying out the application of the microcement.
1. Flatness of the support
Microcement is applied in layers not exceeding 1mm, and the sum of these will not exceed four millimeters, so we will not be able to resolve flatness issues with this material, we must solve the irregularities of the support before starting the application. Microcement can be applied on floors, walls and even on ceilings, the final result will depend on the support and the work of the applicator.
2. Consistency of the support
The application base must be stable. Supports with powdery mortars or loose tiles are not suitable, depending on their condition they will have to be removed or consolidated with quick-setting mortars, with compensated shrinkage.
3. Free support from dampness
In case of moisture in the support, we will not be able to apply microcement. It will be necessary to first determine its origin and eliminate it, we advise using a moisture meter with the aim of ensuring that the humidity never exceeds 5%.
The support must have gone through a sufficient curing process. We must take into account that the temperature and relative humidity of the environment along with the ventilation of the workspace, affect the drying process of the mortars and accelerates or delays the curing process.
4. Protect the work area before applying microcement
We must properly protect the work area and the surfaces that we are not going to coat, the microcement adheres very strongly and is difficult to clean when it dries. We will use common protective material in painting jobs, such as painter's tapes, paper to protect, plastic covers...
Different finishes depending on the application of microcement
Thanks to the artisanal work that the application of microcement implies, it is possible to achieve the most disparate finishes with the same material. Finishes that will depend on the base that is used, the application method and the movement with the trowel that is made and the type of microcement as well as the color.
1. The type of trowel used to apply microcement
The choice of trowel type will be decisive for the final appearance of the microcement coating. We have two types of trowel: rubber trowel and flexible steel trowel.
We use rubber trowels exclusively for Microfino. With their use, the waters are slightly less pronounced than with the steel trowel. The rubber trowel exerts less pressure on the product so it is finer.
On the contrary, the use of the flexible steel trowel is recommended if a burnt effect or black marks are sought.
2. The application of the microcement base layer
We always say that each layer must be applied as if it were the last, this is because due to the thickness of the material, the designs or imperfections of the previous layers, are marked on the subsequent ones. This characteristic of microcement can be used to our advantage to create textures.
3. The color and type of microcement to be applied
In Sttandard and Evoluttion Microfino the waters will be more visible than in Sttandard or Evoluttion Microdeck. Similarly in dark colors they will also be more visible, while in white and off-white colors the waters will be almost imperceptible, especially if applied with a rubber trowel.


