Paint for bathroom and kitchen tiles: types, ideas and application
If there is one material that has dominated, dominates and will continue to do so when designing bathrooms and kitchens, it is the tile. A material whose origin dates back to the 7th century, when it entered Europe through al-Andalus, and that thousands of years later continues to be one of the most demanded.
What house do you know where tiles are not present in the bathroom or kitchen? Surely very few. The variety of designs they offer as well as their durability and resistance, among other qualities, make tiles a material to consider.
But like any self-respecting trend, tiles
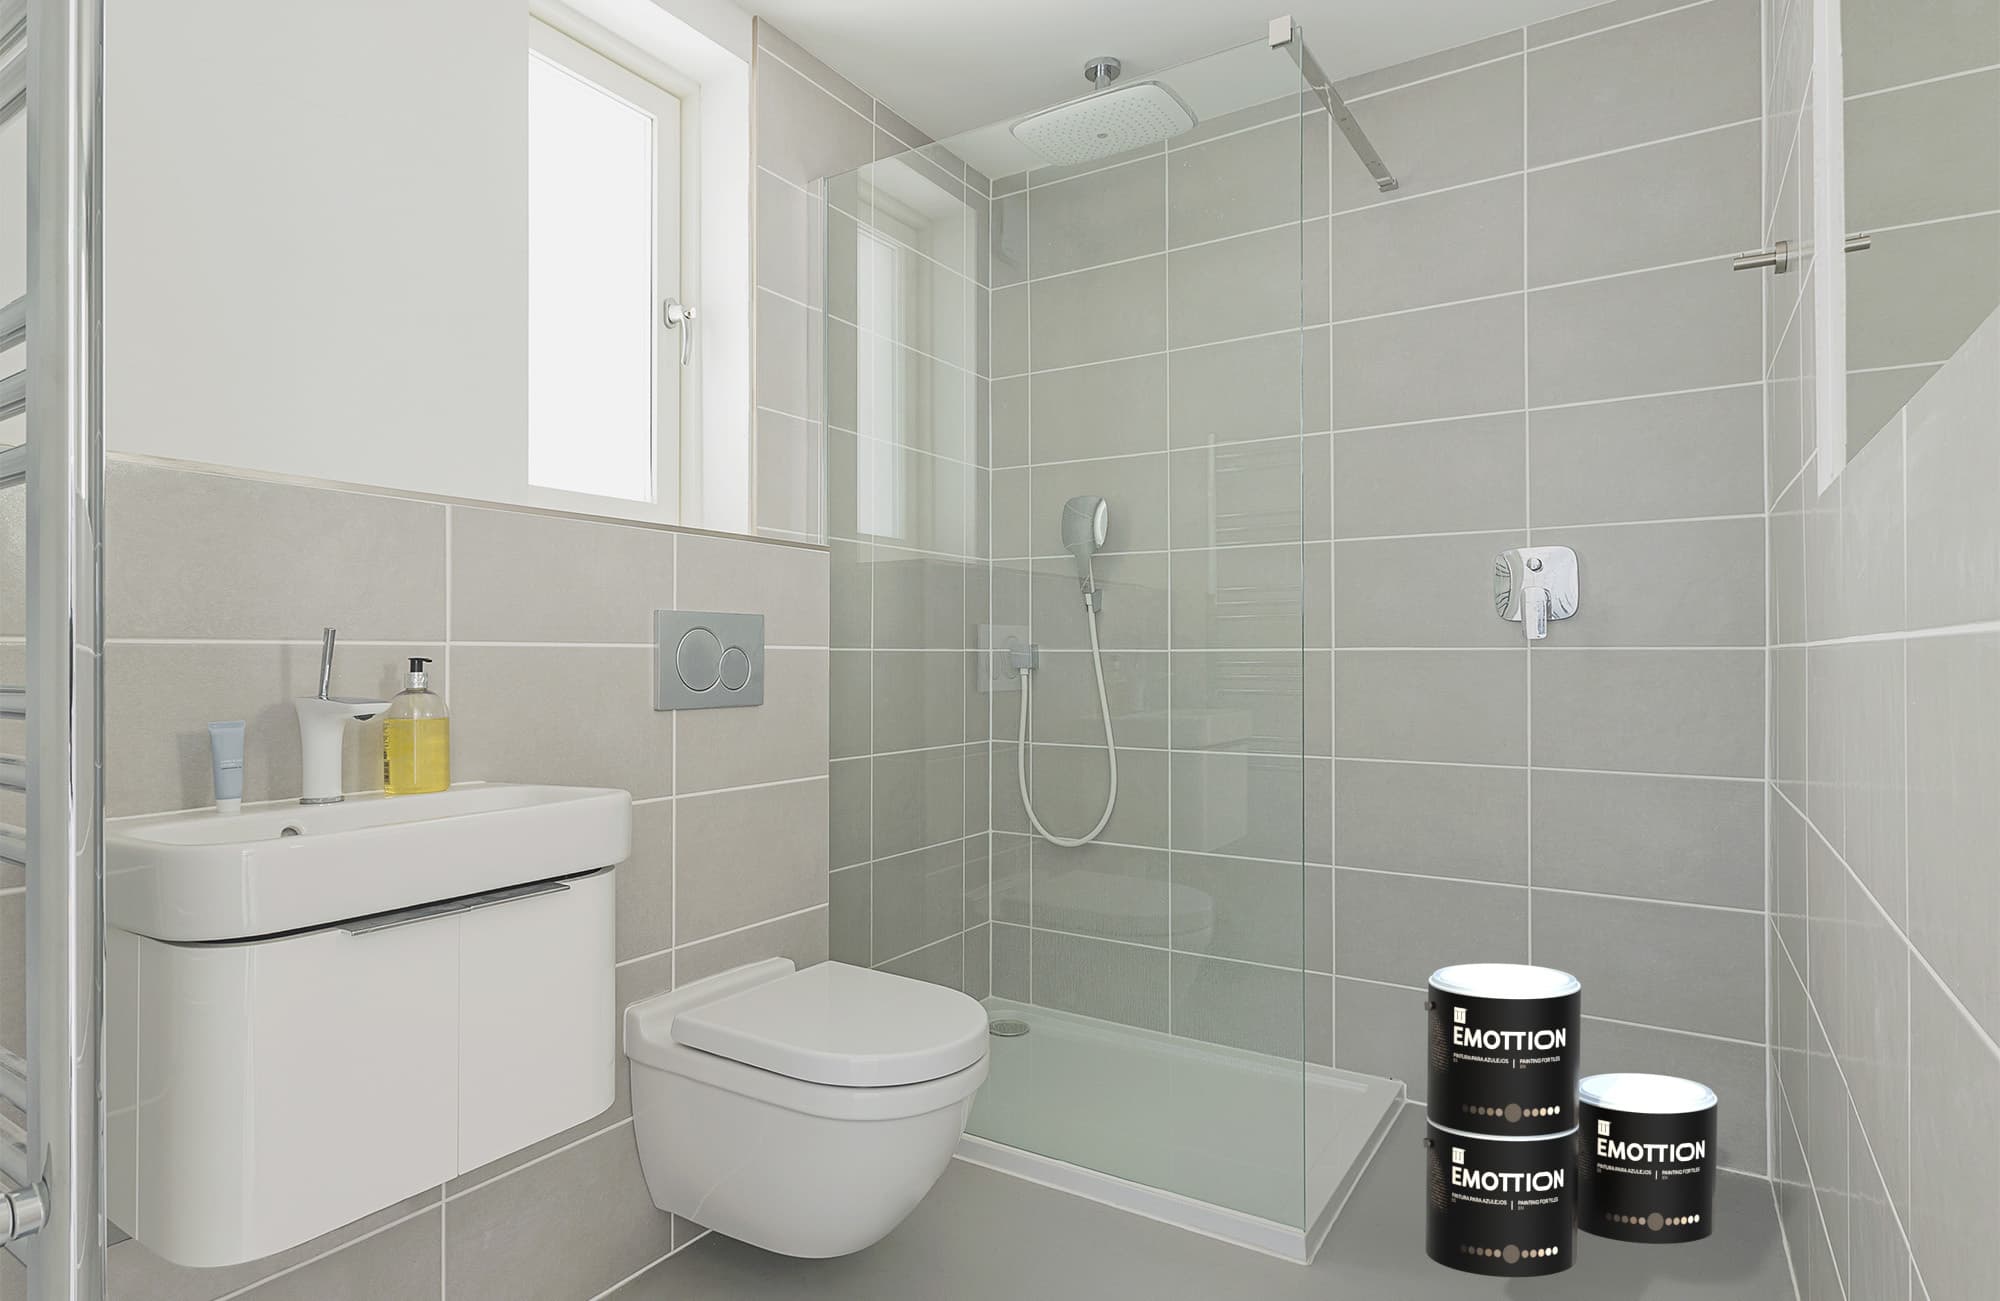
The simplest, quickest and most economical method to update bathroom and kitchen walls and ceilings is to use a tile paint like Emottion. A product with which we at Topciment® venture into the paint sector and which possesses the essential virtues to conquer both the individual and the professional applicator. A ready-to-use water-based paint, quick-drying, good resistances and does not require primer.
In this news, we give you the keys to renovate the bathroom and kitchen with a good tile paint: the most current ideas, tips for executing a good job, how to paint the tiles as well as we will answer the most common questions that revolve around this type of product.
What is the best paint for tiles: types that exist
There are many types of tile paints with which to renovate bathrooms and kitchens to have the image change you so desire. The most important categories are:
- Chalk paint
- Epoxy paint
- Coating with epoxy resin
- Enamel
The enamels, which can be synthetic or acrylic, are some of the best paints for tiles available on the market and are highly demanded. They offer matte finishes, gloss and satin. Below, we explain the main differences between them.
Synthetic enamel
This type of tile paint is oil-based, giving the surface a much shinier finish. Among its qualities, it is important to highlight its good resistance to moisture and its fairly quick drying. In addition to being ideal for painting tiles, it is used on wooden doors and frames. On the downside, its main handicap is the white colour, which can yellow over time.
Acrylic enamel
On the other hand, this type of tile paint is water-based and stands out for its high resistance to stains. Its finish is not very shiny and it also does not yellow, being unalterable to UV light. As it does not contain solvents, its smell is more pleasant and it is more respectful to the environment. Emottion fits in here.
5 ideas to paint the bathroom and kitchen tiles
You already know what paint to buy, now it's time to create. If you're a die-hard classic, you can limit yourself to painting the tiles a colour similar to what you already have. Job done!
But if you're looking to truly transform your space and modernise it properly, we give you four irresistible and fully up-to-date ideas to paint the bathroom and kitchen tiles. You'll achieve the real WOW effect. Take note, take note.
Who doesn't risk doesn't win: combine the colours when painting the tiles
In the chromatic variety is the joy. And a decorative trend that has come to stay. If you want to surprise and never bore neither you nor your guests, bet on mixing several colours to paint the tiles. Play to create different shapes so that your walls are not monotonous and boring. There is no need to give up neutral and more elegant colours, let them stay!, but let them be supported by refreshing and fun colours like aquamarine blue, olive green, pink and even mustard. Create a real rainbow (without going overboard, make sense) and you will achieve a positive punch effect.
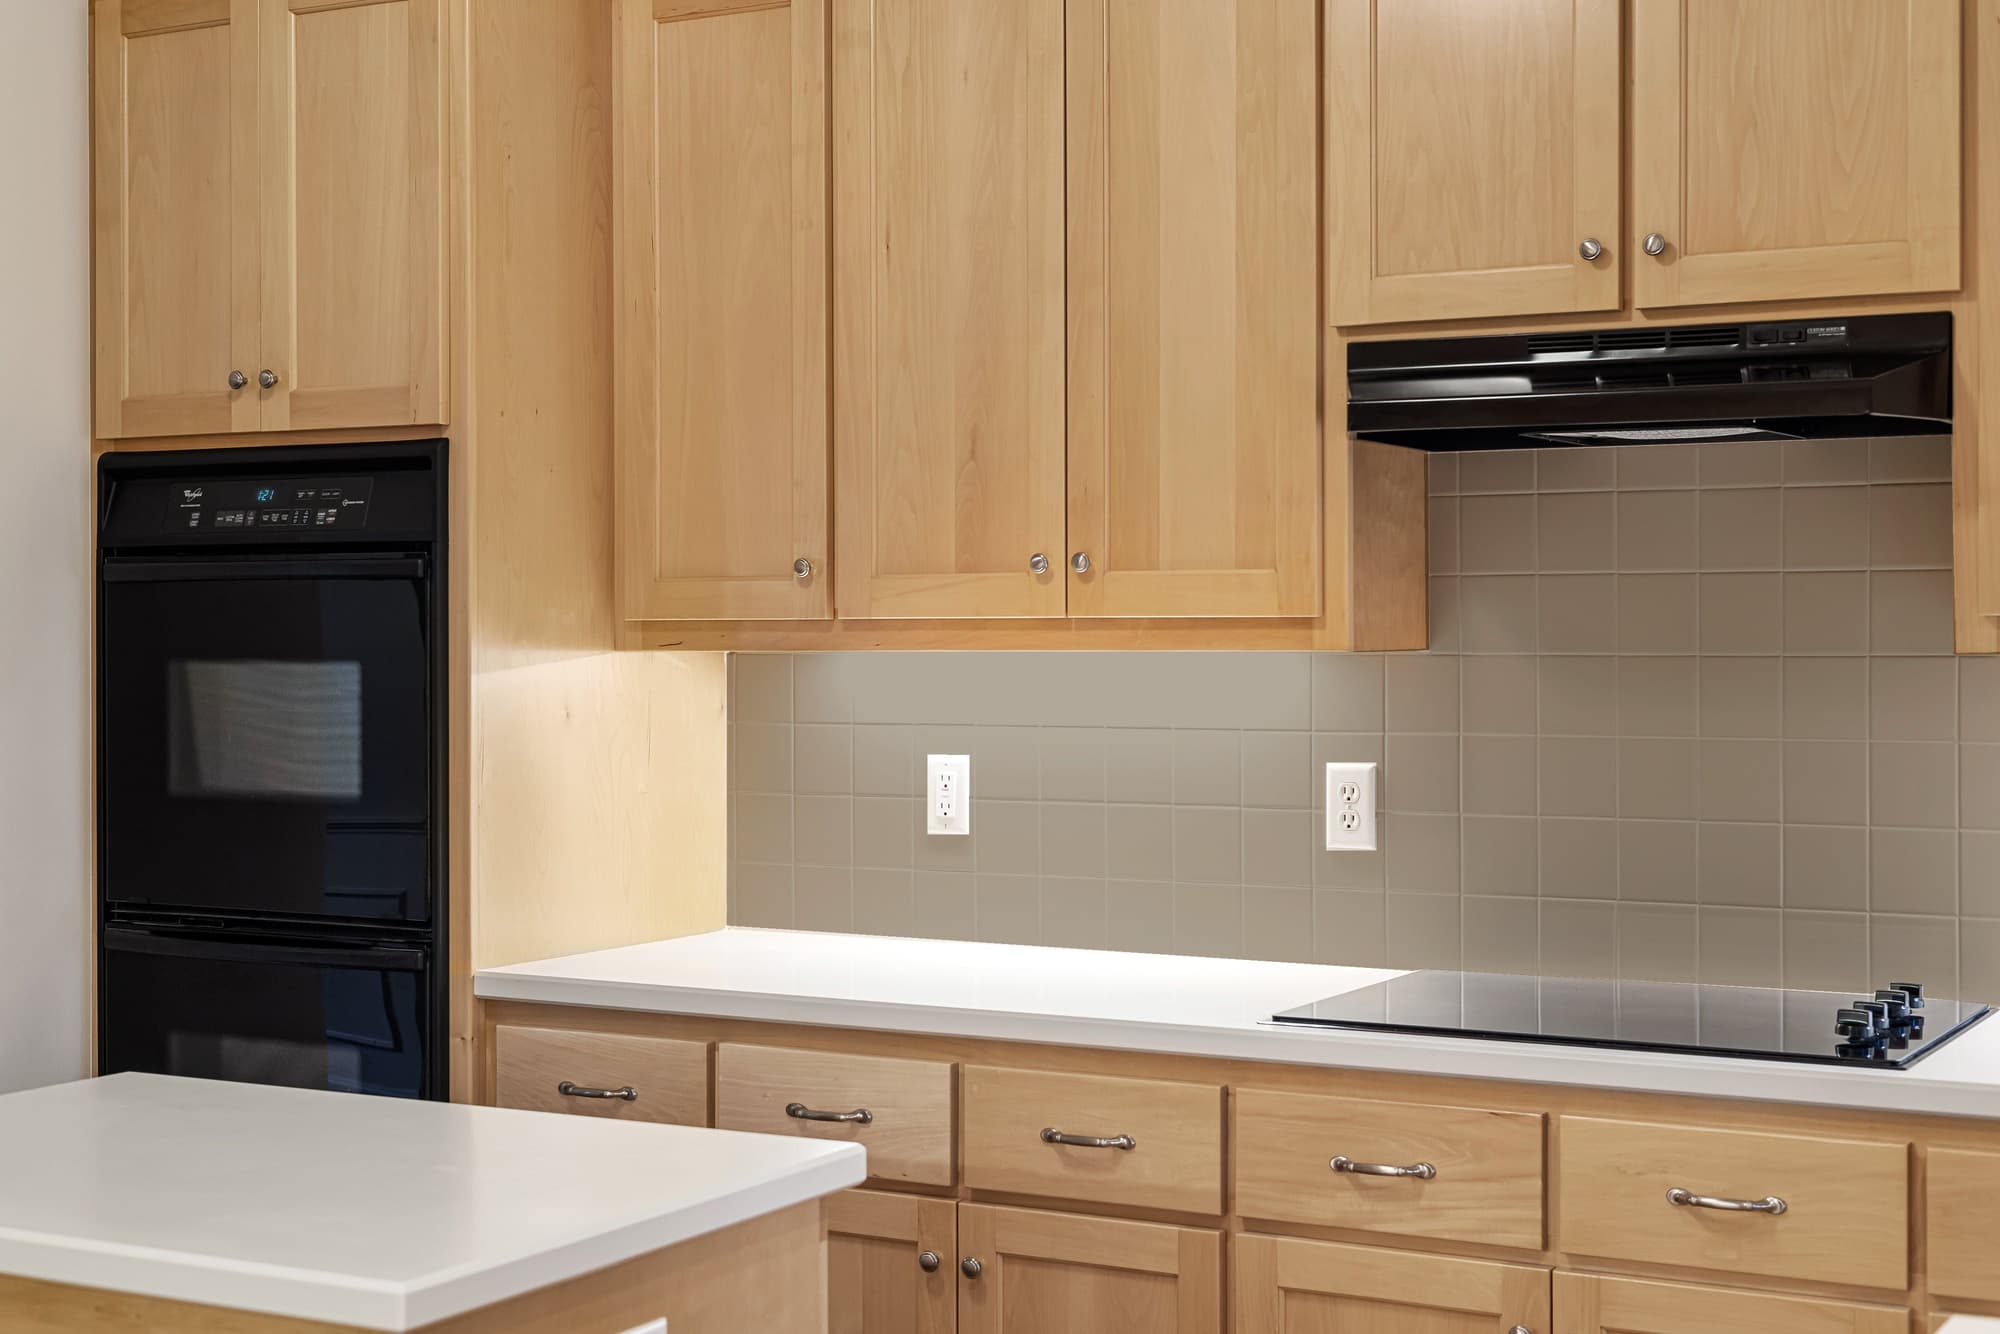
Small kitchen and bathroom? Paint the tiles with light colours
Take advantage of every inch and maximise the space. That's what we aim for and that's what we're going to achieve. If square metres are noticeably absent, choose lighter colours that provide visual breadth and greater brightness.
Old and boring borders? Give them a touch of colour or put a decorative sticker
Years ago, borders were indispensable in bathrooms and kitchens with tiles on their walls. For some time now, borders have become outdated. You can choose to remove them and get into works or improve them with two very simple proposals. You will go from cursing to giving thanks for having borders. You'll see.
a) Paint them to cover what you don't like: you can do it in the same colour as the rest of the tiles or in a different one to create a very attractive visual break. But without going overboard, we're not going to go all Picasso. This way you'll camouflage the details you don't like about the borders.
b) A decorative adhesive to recreate varied designs and patterns
An alternative that you probably haven't considered (maybe you didn't even know it) but that is very, very interesting: the decorative adhesive. A material whose width usually matches the standard dimensions of borders and mouldings so you can hide them quickly and easily. There are many designs and patterns available with which you will give the kitchen and bathroom a plus.
Paint the tiles to create a most suggestive accent wall
An idea for painting tiles that never fails and is gaining more and more prominence. A decoration technique that was not created yesterday, that has tradition, but that is indeed gaining more followers in recent years. What is sought is to give each room a unique and original touch.
A wall different from the others and that will stand out compared to the rest of the bathroom and/or kitchen tiles. It will highlight the area while enriching the general decoration of the space. It consists of separating areas visually even if they do not have physical barriers that perform this function.
Before painting the tiles and creating your accent wall, it's important that you observe and study how the light enters the bathroom or kitchen and for how long. Do it on a wall that receives plenty of light and where you don't have to remove the utensils that are hanging. In the end it has to be a practical surface.
Depending on the effect you desire, you will use one colour or another to paint the tiles of your accent wall. While cool colours amplify the space, warm colours make it smaller but create a homely and comfortable atmosphere. In bathrooms, the shower area is perfect for establishing an accent wall.
Paint the wall tiles and opt for vinyl or microcement on the floor
From combining colours, to combining materials. Wood is a classic and works wonders as flooring. But there are other more economical and equally seductive options. Bet on continuity and the absence of joints? Apply microcement on the floor. Don't want to overthink and finish quickly? Opt for a vinyl floor or hydraulic tiles.
7 tricks and tips for painting tiles and not dying in the attempt
You're a tile enthusiast but your bathroom and/or kitchen is screaming for a renovation. You refuse to give them up and, therefore, you've opted to paint the tiles to renew them and achieve a 100% personalised aesthetic to your liking.
Two rooms, the bathroom and the kitchen, which are the ones that suffer the most from the massive use we give them on a daily basis. To the point that the tiles, inevitably, age.
Once you have chosen the type of paint for the tiles, you can start the renovation project. However, you must take into account six tricks and tips to ensure a good final result.
1. Check that there are no tiles with breaks or chips
It's no use painting the tiles if they're not in good condition. Thoroughly check each of the pieces to discard broken tiles or those that show chips. If you find them, apply a putty to cover these imperfections.
2. Mould and dampness in sight? Fix those black spots!
Kitchens and bathrooms, especially the latter, are exposed to a greater amount of water and environmental humidity. Therefore, even if the tiles are cleaned more or less frequently, mould and humidity stains appear. It's inevitable! But there is a solution. Repair those unpleasant black lines from the joints with a suitable product and let it dry for a week before proceeding to paint the tiles.
3. Clean the tiles with water and soap
Mix water and soap and dampen a cloth to remove the grease and dirt that may be embedded in the tiles. If the stains persist, gently rub the area and use a product with greater disinfection power like our Ecoclean Basic.
4. Define the area to paint and protect the furniture and sanitary ware
With the help of masking tape, clearly define the area you are going to paint the tiles and separate it from the one you are not: taps, sockets, switches, etc. Also, use tarps or plastics to cover the furniture and bathroom and/or kitchen fixtures so they don't get stained with paint.
5. Ventilate the bathroom and/or kitchen before painting the tiles
Check that the tiles are dry. If you have windows, open them so that the room is properly ventilated before applying the tile paint.
6. Start painting the ceiling, then continue with the walls
Important tip! And one that is often overlooked. To paint the tiles, it is done from top to bottom. Therefore, if you have tiles both on the ceiling and on the walls, you will have to start with the ceiling. In this way, any possible paint splash will fall on those surfaces that are not yet painted.
7. Stir well before applying the paint
It is essential to remove the tile paint with a spatula, with movements from bottom to top so that the colour and finish are homogeneous.
9 common mistakes to avoid when painting bathroom and kitchen tiles
Although painting is an easy process, there are still common mistakes that are frequently repeated when painting the bathroom and kitchen tiles. We don't want you to mess up! So take note of nine mistakes you need to avoid to enjoy a spectacular result and not a disaster.
1. Buy a regular paint instead of a specific one for tiles
Although it may seem obvious, not just any type of paint will do for painting tiles. A mistake that more people make than you might think. When this happens, the enamel peels off after a short time and stains appear. Result: the tiles that were meant to be renovated end up deteriorating more than they already were. So only use a special and professional tile paint, like Emottion, to ensure that it adheres and pigments without problems.
2. Not having a spatula or brush for the joints
As previously detailed, the roller is essential for painting the bathroom and kitchen tiles. However, we run the risk of some joint being left unpainted. Therefore, for the case of the joints, we recommend having a spatula or brush to paint the joints well and, then, proceed to apply the paint to the rest of the tiles with a short-haired roller.
3. Using an unsuitable roller to paint the tiles
For painting, brushes and rollers are indispensable tools. In the case of tiles, we recommend using a roller instead of a brush. In this regard, there are many types of rollers for painting tiles: foam, long hair, foam rubber and short hair. For Emottion and most tile paints, professionals do an impeccable job with a short-haired velour type roller.
4. Painting without cleaning the tiles first
One of the most common mistakes! Although at first glance it may seem that the bathroom or kitchen tiles are perfect, a lot of dirt, grease, mould and moisture accumulates. All of this makes the surface not uniform or in optimal conditions. That's why, if it's not cleaned, the paint for the tiles won't adhere well.
5. Repaint the tiles in poor condition without sanding or stripping
There's nothing wrong with painting tiles that have already been previously painted if they are in good condition. However, if the paint is in poor condition, sanding or stripping must be carried out. If this is not done and the new tile paint is applied directly, the surface will not be uniform.
6. Paint the tiles without defining the work area
Something very basic but more people than you can count forget to do. With masking tape, you have to perfectly separate the area of the tiles that are going to be painted from the area where no paint is going to be applied.
7. Do not prime the tiles
When the tiles have been cleaned and fixed, a layer of primer must be applied for the paint to adhere. Or better yet, save yourself this step and possible error by using Emottion tile paint. It doesn't need a primer!
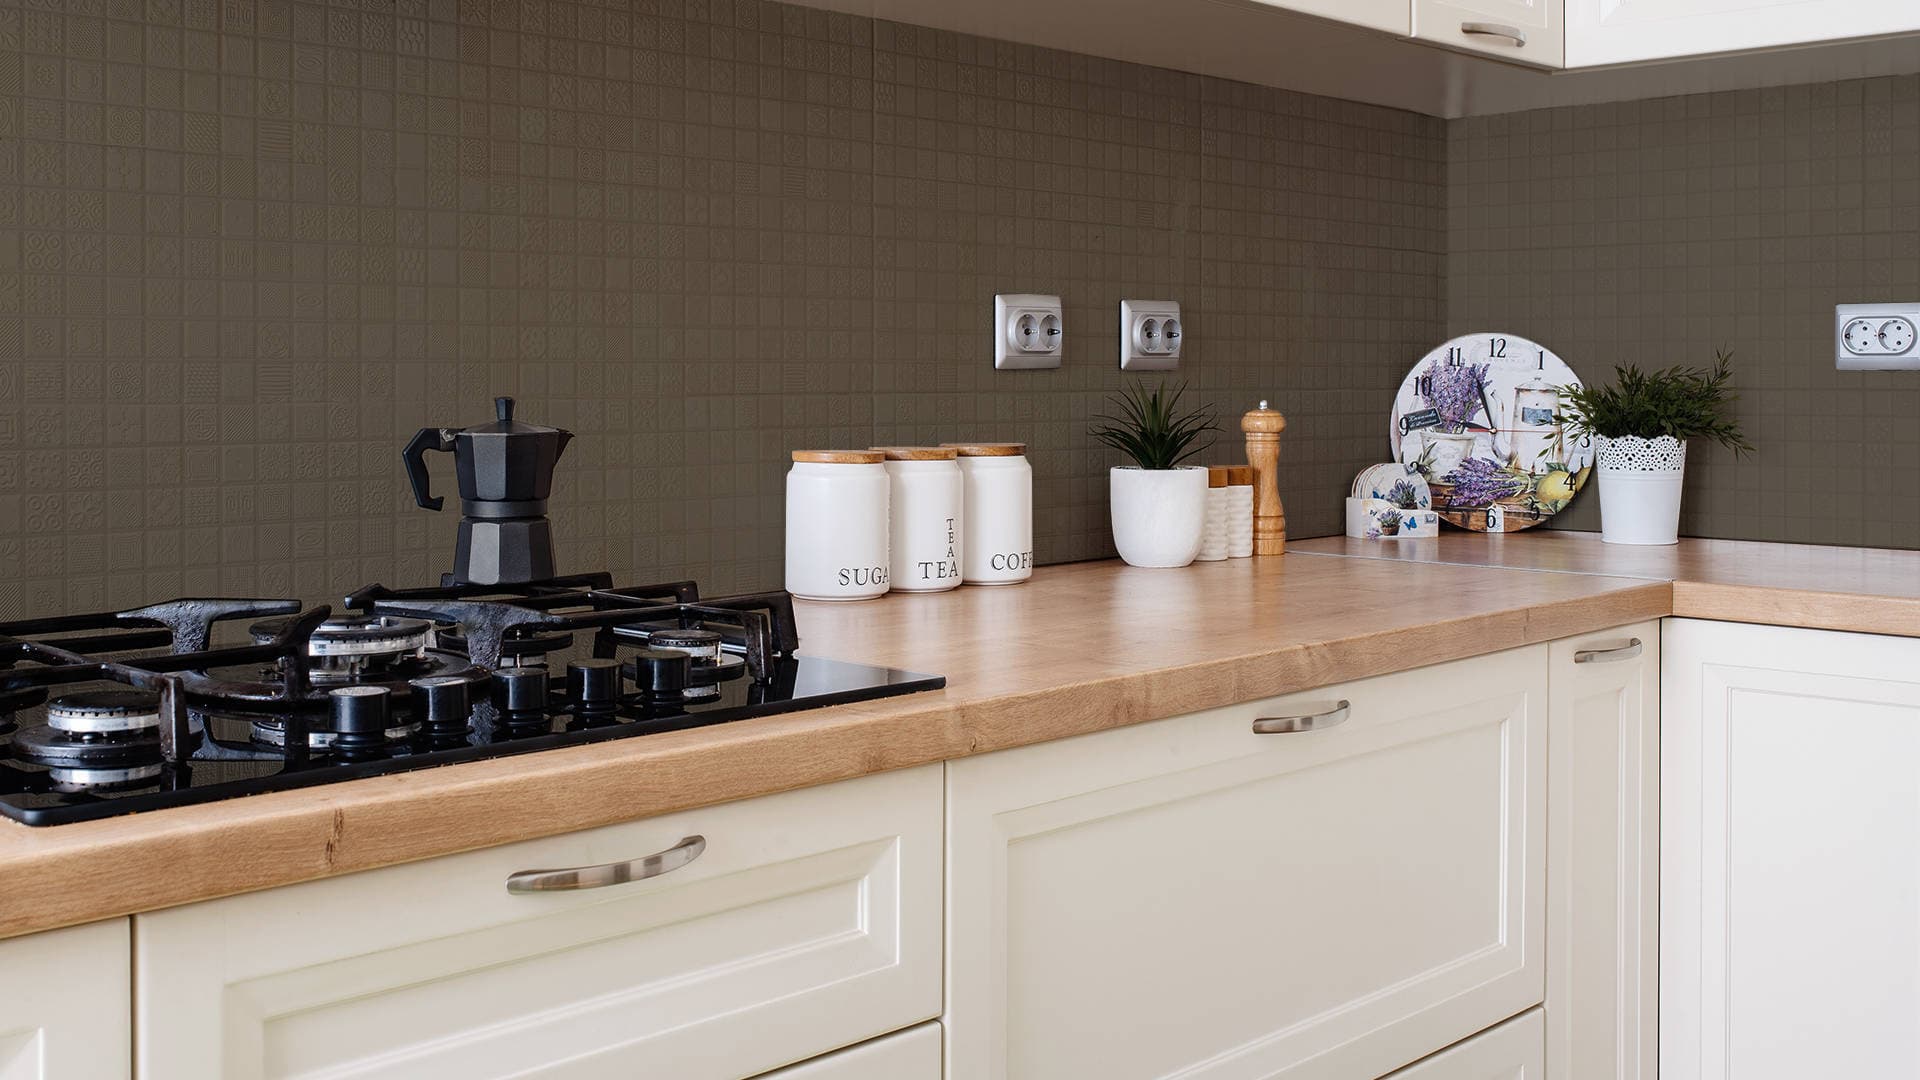
8. Not having a paint tray
Having a paint tray for painting bathroom and/or kitchen tiles is essential. With it, the product is distributed evenly and uniformly to apply the exact amount of paint with each brushstroke. Without it, it's easier to waste the product and overcharge with the consequent problems this can cause.
With a good paint tray, you'll make the most of every last drop of tile paint. Designed with a hole for pouring the paint and being able to soak the roller better, as well as a flat part where you can remove the excess product and optimise the use of the material. So now you know.
9. Not respecting the drying time for tile paint
Each manufacturer clearly specifies the drying time between layers as well as the total curing of their tile paints. Not respecting them will cause problems in the final result. With Emottion, you have to leave 8 hours of space between the first and the second layer, and leave 7 days of curing for the paint to obtain its maximum resistances.
How to paint kitchen and bathroom tiles: step by step
Once we have analysed the types of tile paints available on the market, the most current ideas for renovating bathrooms and kitchens, the best tricks and tips from professionals and the most common mistakes to avoid... it's time to explain the definitive technique for painting kitchen and bathroom tiles.
Important: don't forget that the process can experience variations depending on the chosen paint and the manufacturer's specifications.
1. Prepare the work tools and the tile paint
Read the product instructions well to know whether or not you have to remove the paint, as well as the amounts you will need to cover the surface. Have the basic work tools for painting tiles at hand and check that you are not missing any: tray to prepare the mixture, brush or spatula for the joints and small nooks and a roller to apply the paint, etc.
2. Prepare the tiles that are going to be painted
Cracks or chips? Cover them with universal putty and let it dry for the time indicated by the manufacturer. Then, clean the tiles with water and soap to degrease them and remove any trace of dirt. Use vinegar or Ecoclean Basic for lime, mould and moisture residues.
3. Define the work area and protect with plastic the one that is not
Grab masking tape and separate the surface very well, so it is clear which area is going to be painted and which is not. Protect sockets and switches and, in the case of the floor, cover it with a plastic or tarpaulin.
4. Apply the primer
Not all tile paints require a primer to enhance their subsequent adhesion. Emottion, for example, doesn't need it. In those that do, stir the paint until you achieve a homogeneous mixture and soak the brush to apply on edges and angles. Make sure the joints are perfectly covered. Continue the process with a roller to cover the entire dimension of the tiles. Before it dries, remove the masking tape. Then, let the primer dry according to the manufacturer's recommendations.
5. Paint the tiles with the paint
We get to the crux of the matter: painting the bathroom or kitchen tiles. Remember that you have to start with the ceiling and continue with the walls to avoid unwanted splashes. Protect the sockets, switches and tiling again with the masking tape.
Open the paint can, manually stir with a spatula until the mixture is homogeneous. Pour the product into the bucket and soak the roller to start painting and apply a first coat, from top to bottom. Alternate vertical and horizontal strokes. Apply the tile paint evenly so that no rings form. Essential: respect the number of paint layers and their drying time, as detailed by the manufacturer.
6. Ventilate and let the room dry
Although the paint completes its drying, we advise that the kitchen and/or bathroom be ventilated and a few days pass for it to complete its cure in an ideal way. The time can vary depending on the manufacturer: from 2 to 7 days.
Emottion: a great paint for tiles
Emottion is the result of the constant effort of the R&D team at Topciment® to develop new and innovative products. A new tile paint that is applied without primer and is available in up to 11 colours with a satin finish.
A painting of quick drying, resistant to running water and ultraviolet light with which any coated space will be fashionable. Formulated based on water, it is a product that we highly recommend for painting bathroom and kitchen tiles.
A product of long durability and totally respectful with the environment. Whatever the chosen colour, we assure you that the result will be spectacular. The professional will obtain high decoration finishes in very little time. A paint with which great changes are achieved easily and simply, to combat the ageing of the tiles without the need for works.
A tile paint ready to use with which we expand our wide range of decorative coatings to offer customers the most diverse and distinguished solutions.
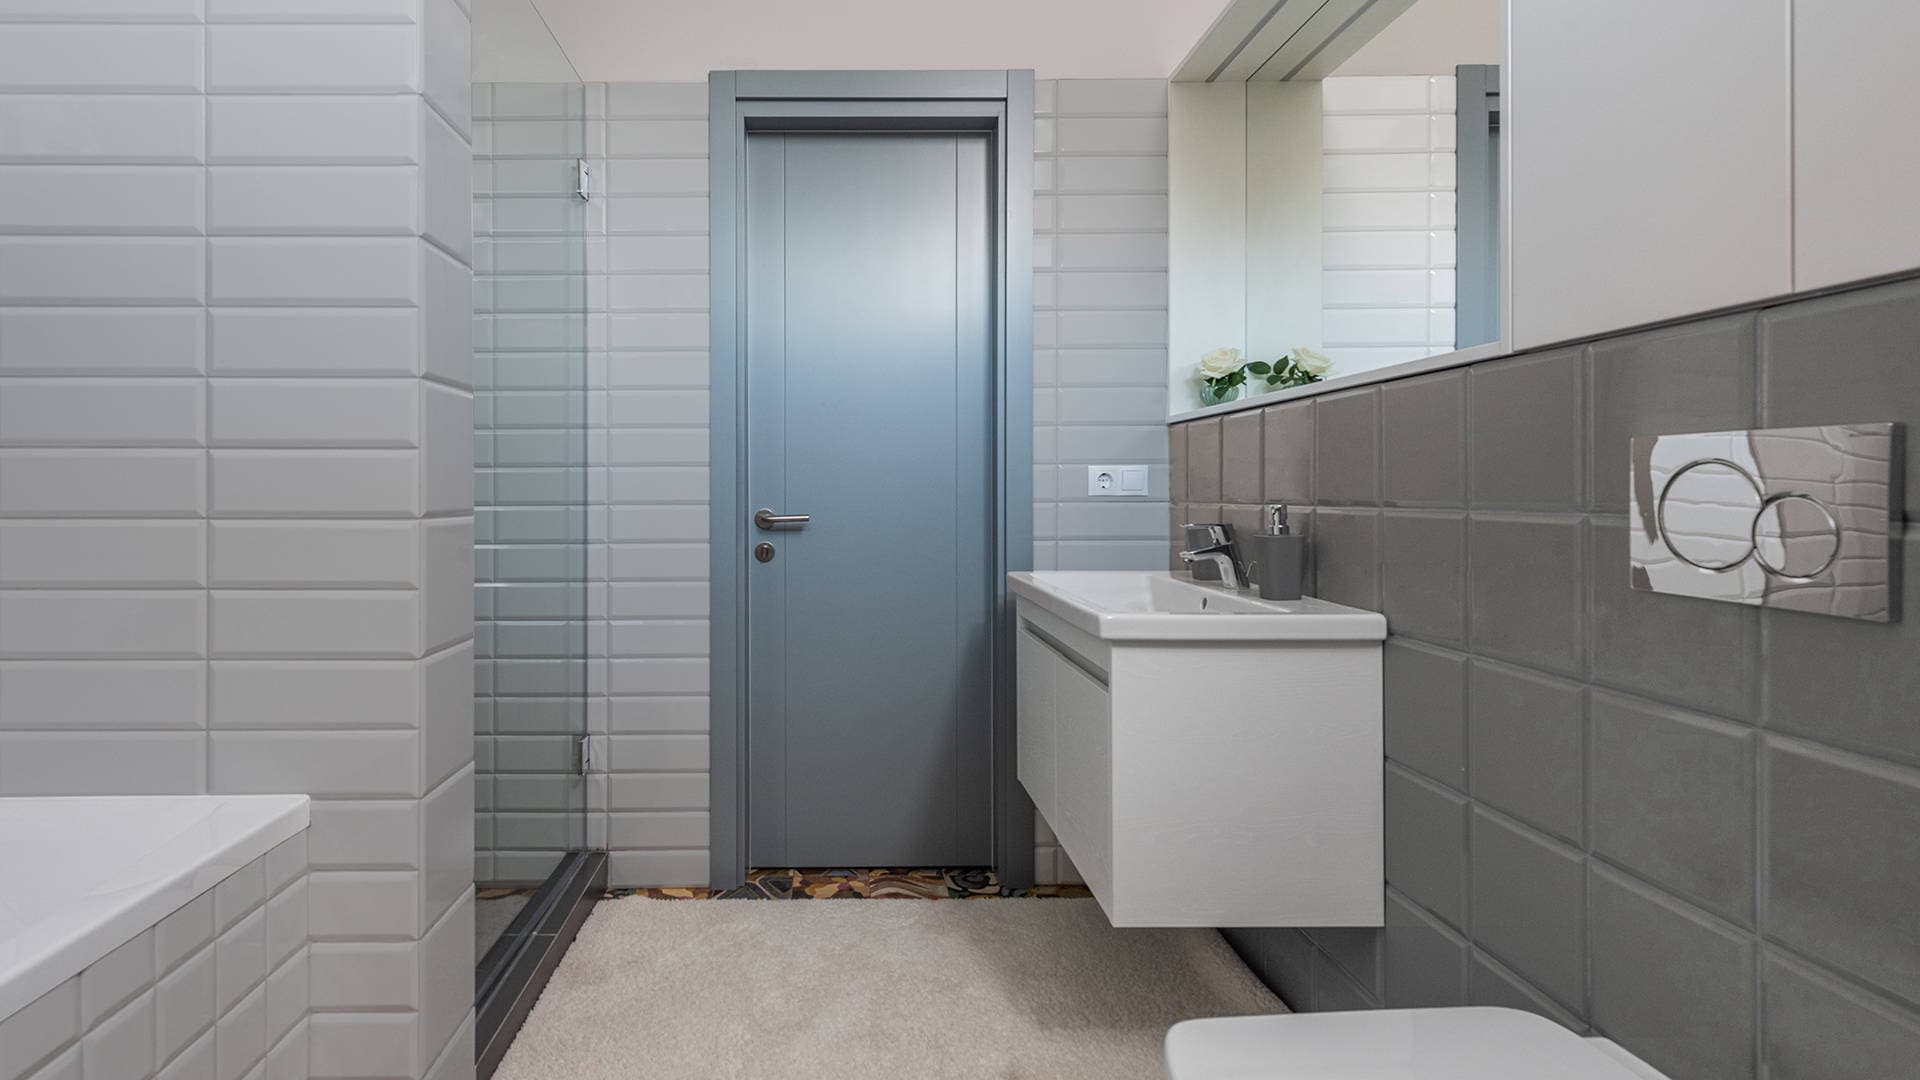
How to paint tiles with Emotton paint
Next, we proceed to explain how to paint bathroom and kitchen tiles with Emottion. A technique that differs slightly from the one explained previously in general, as among other things our paint for tiles does not need priming.
1. Organise the work tools and condition the work surface
Make sure you have all the tools you need to be able to paint the tiles: tray and/or bucket, spatula, brush, roller, etc. Next, repair cracks and chips with putty and clean the surface of dust, grease and dirt. For a deep clean, apply our Ecoclean Basic detergent.
Delimit the work area with masking tape, protecting sockets and switches, and cover the floor with plastic. If the tiles are painted or varnished, check if they are in good condition (if not, it could trigger adhesion problems). If necessary, carry out sanding or stripping to remove the old coating.
2. Paint the tiles with 2 coats of Emottion paint
Remove Emottion with a spatula until a homogeneous mixture is achieved. As there is no need to prime the tiles, apply directly 2 coats with a short-haired velourex or microfiber roller. Leave a space of 8 hours between them.
Emottion is a high-coverage tile paint, so the result should be perfect at this point. However, if you are not satisfied with the finish you can apply a third coat.
3. Respect 7 days of curing
The touch drying of Emottion tile paint is just 30 minutes and its drying between layers is 8 hours. However, to achieve its maximum performance, we recommend respecting 7 days of curing.
Frequently asked questions about paint for bathroom and kitchen tiles
How many years does tile paint last?
The durability is marked by the manufacturer, who has formulated and tested the product in question. And, above all, the quality of it. In the specific case of Emottion, if the application and maintenance instructions are strictly followed, the tile paint can last between 4 and 5 years in perfect condition.
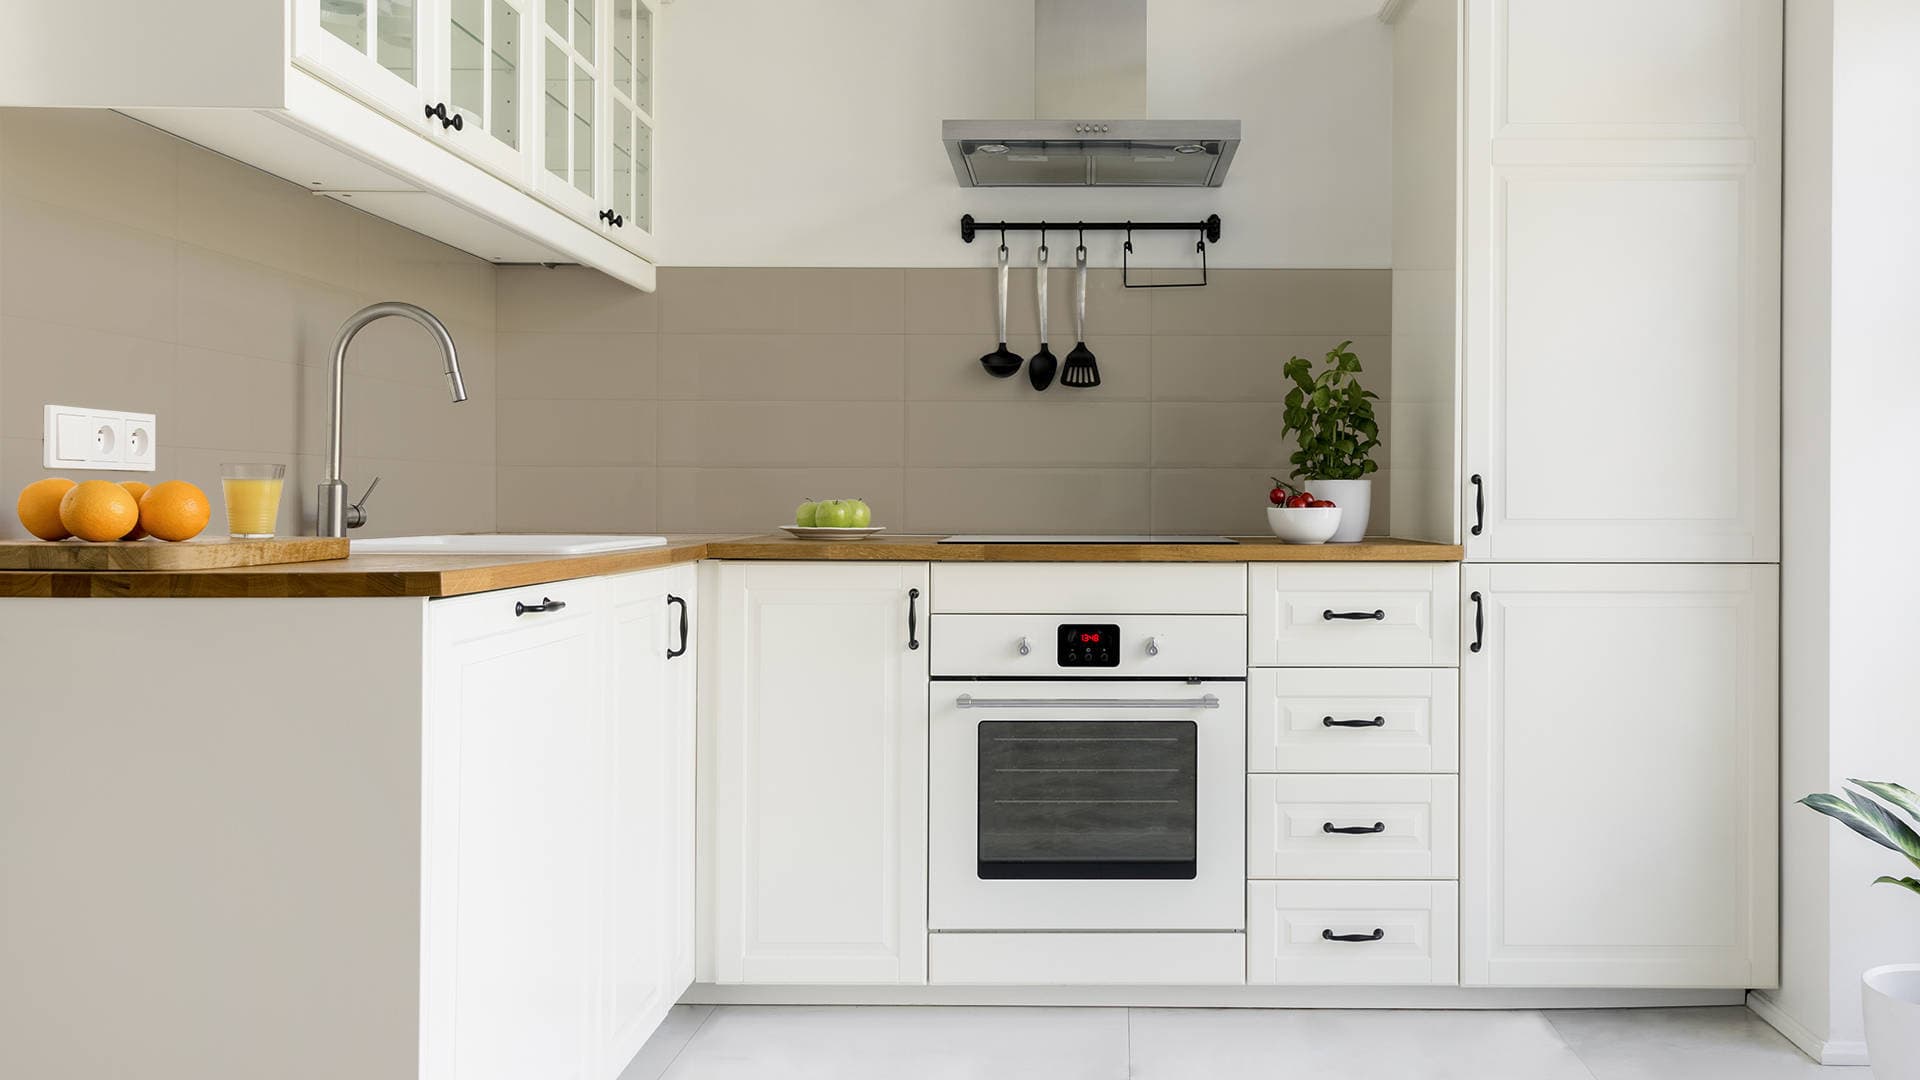
What paint to paint tiles with? What types of paint are there?
To paint tiles, it is advisable to use a paint that has very good adhesion, resistance to water and stains, and that is washable. Three conditions that Emottion perfectly meets. Having said that, among all the options, you can use the typical enamel, an epoxy paint, a spray paint or a ready-to-use paint like ours which is easier and quicker to apply.
What to clean the tiles with before painting them?
It is essential to clean the tiles before painting them and let them dry completely. It is necessary to avoid at all costs degreasers that contain fatty components, solvents and silicones. To clean the tiles before painting them, the best thing is to mix hot water with soap and use a cloth.
What paint is used to paint the bathroom tiles?
For a perfect result, you can't paint the bathroom tiles with just any paint on the market. Instead, you will have to look for a specific product, that is water-resistant, odourless, easy to apply, washable and durable over time. Sine qua non requirements of Emottion, an exceptional paint for painting bathroom tiles.
What is the best paint for painting kitchen tiles?
There are many types of paint for painting kitchen tiles: two-component, single-component, ready-to-use, epoxy, etc. The choice of one paint or another is subject to several factors such as the final finish it offers, which depends solely on the customer's taste, and the performance it guarantees. In this regard, it is essential to have a paint that in the case of a kitchen enjoys good water and stain resistance.
Emotttion guarantees water resistance while remaining intact against oil stains, bleach, vinegar and soap for up to 2 hours after they occur, making it an exceptional paint for painting kitchen tiles. In addition, it is a ready-to-use paint that allows for faster application than other products on the market.
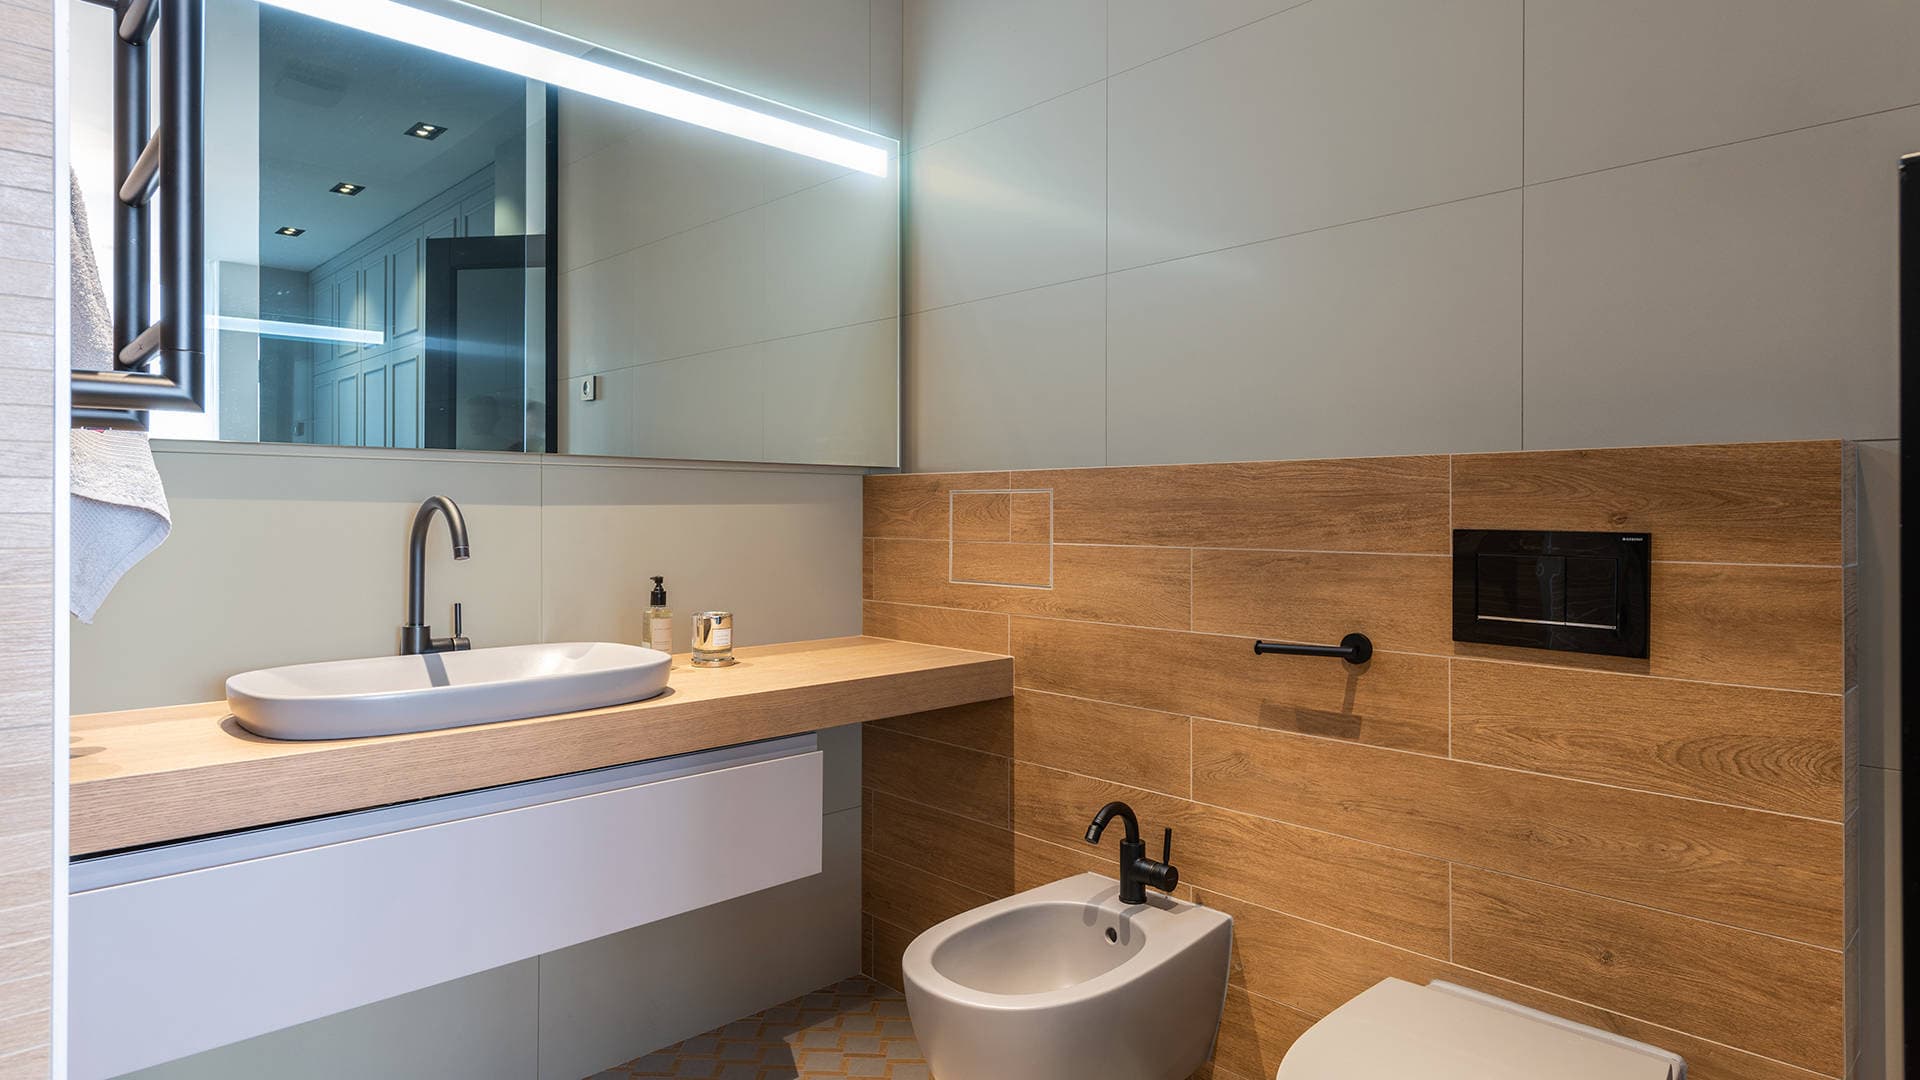
How to paint the joints of a tile?
The first thing to do to paint the joints of the bathroom and kitchen tiles is to clean them thoroughly in order to eliminate any trace of dirt or mould that may have accumulated. Once done, and after ensuring they are dry, you can apply a paint or directly a filler putty like our Primacem Joint.
How to clean the grout of the tiles?
Dirt proliferates in the joints of the tiles. Dust, grease, dirt and even mould accumulate, causing the joints to end up blackening. That's why it's so important to clean them frequently so that spaces like bathrooms and kitchens are in good condition.
Although there are a multitude of industrial products that have been specifically designed to whiten tiles, we can resort to other more natural remedies that can be equally effective. In summary, these are some of the most effective products for cleaning tile joints:
- Ammonia and hot water
- Cleaning vinegar
- Water and neutral pH soap
- Bicarbonate, white vinegar and hot water
- Bleach
- Toothpaste
- Multipurpose cleaner
- Ecoclean Basic
Regarding utensils, to clean the joints of the tiles it is advisable to have a toothbrush and a cloth or rag at hand.
What is the best roller for painting tiles?
Without a doubt the best roller for painting tiles is a short-haired roller. It is the most suitable for undertaking the job, since Emottion is a high coverage paint and is applied in a thick layer to achieve optimal resistance in bathrooms and kitchens.
How to paint tiles that have been previously painted?
It's okay for the tiles to be painted. If the old paint is in good condition and is compatible with the new paint to be applied, you will only need to clean the tiles before using the product.
However, if the old paint is in a bad state or is not compatible, it would be necessary to proceed either to a sanding or to a stripping. Once completed, we could then paint the tiles that were previously painted.
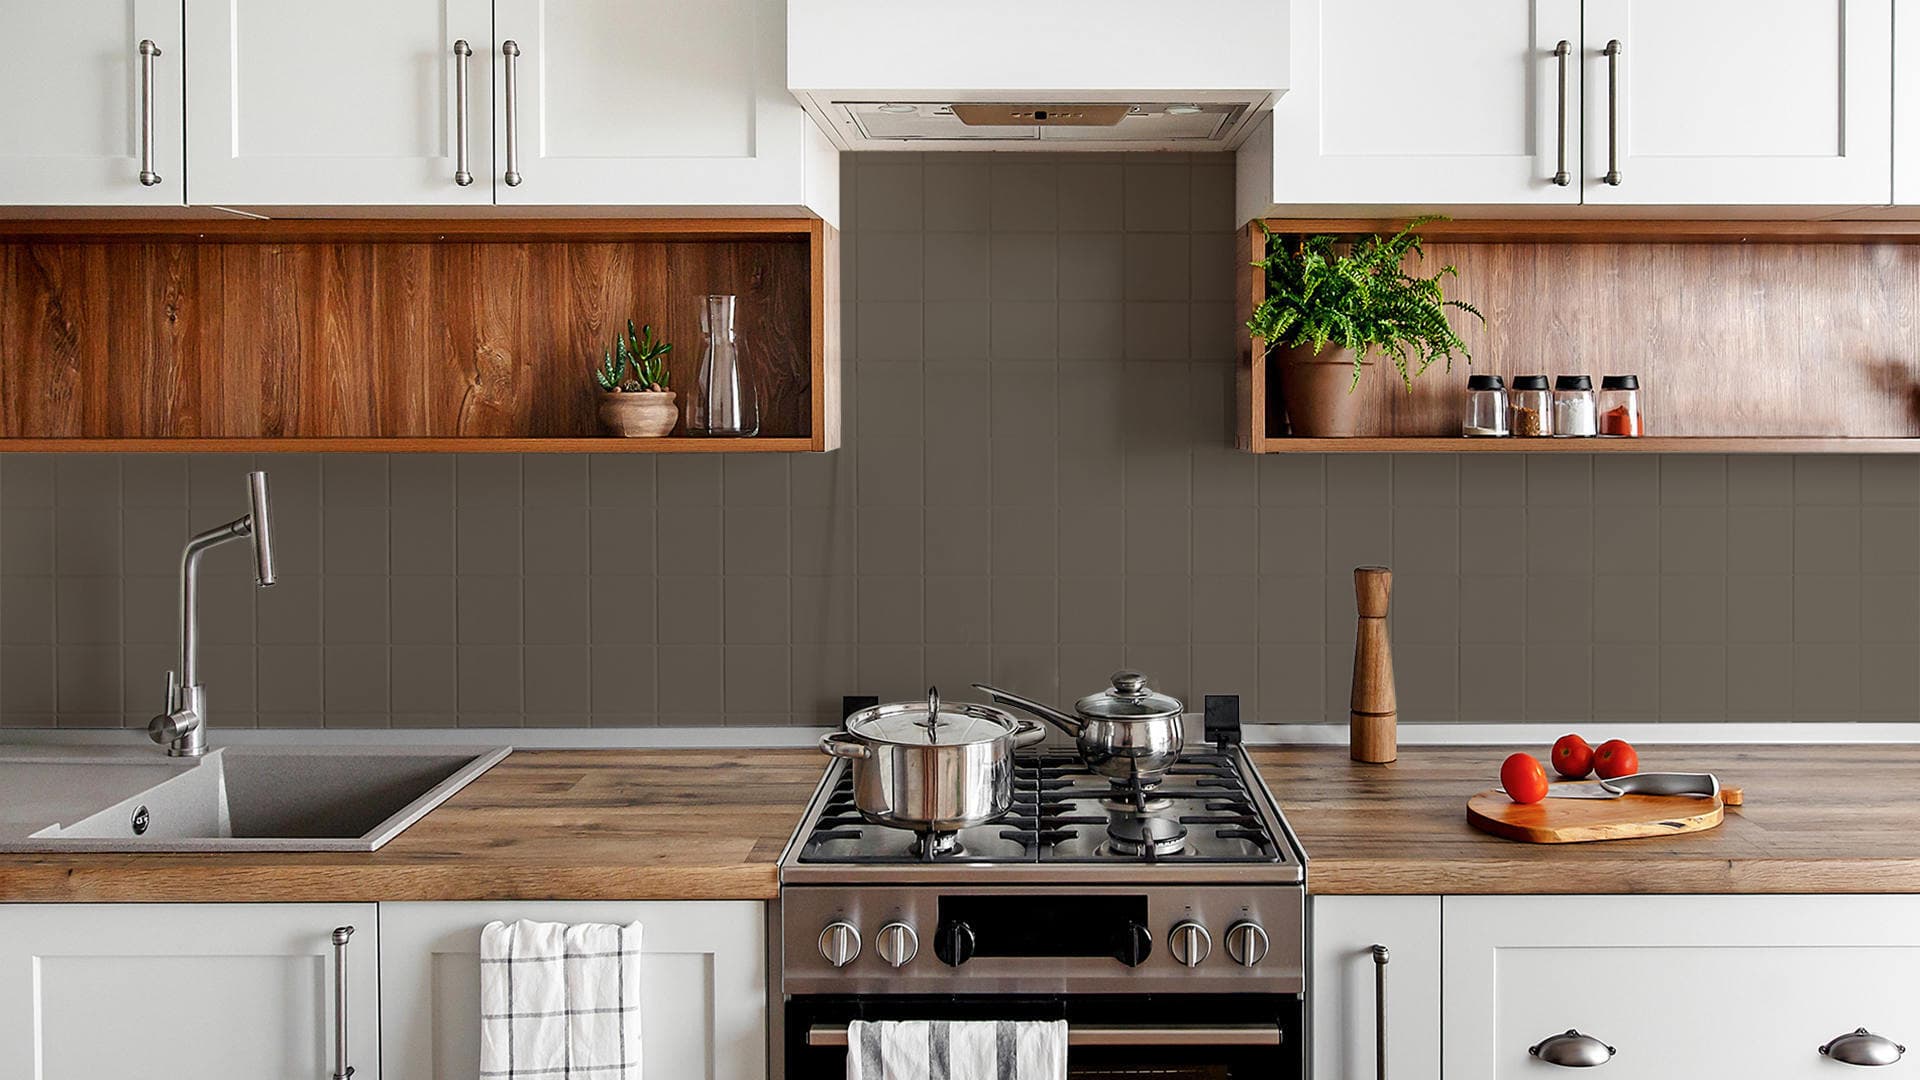
How long does it take to paint the bathroom and/or kitchen tiles?
The working time to paint the bathroom and/or kitchen tiles depends on the size of the surface, whether a prior repair needs to be carried out and the drying time of the paint in question.
Broadly speaking, for small bathrooms and kitchens of less than 10 m2, it would take a day to paint the tiles. If on the other hand they are medium extensions, of about 40-50 square meters, this time would rise to 2 days. And finally, and no less important, if we increase to 100 m2 it would be delayed up to 3 days.
How do you clean painted tiles?
Each paint has properties depending on its composition. You always have to check the manufacturer's technical sheet to know how to clean the tiles painted with their product.
In general, painted tiles can be cleaned with water and neutral soap, mixing water and cleaning vinegar or with specific products like the detergent Ecoclean Basic.
How long does it take for a tile paint to dry?
Each tile paint has a drying time and a curing time. In the case of Emottion, which is applied in only 2 layers, there must be an 8-hour gap between them. As for its maximum resistances, it reaches them seven days after its application.
How to remove paint from tiles?
There are different methods. As we have repeated to exhaustion, it depends on each paint. Even so, and generally, these are some of the most common procedures to remove paint from tiles:
- Wet tiles with hot water and scrape with the help of a spatula or knife.
- Use a nail polish remover, acetone or white vinegar and rub with a cloth.
- Heat the paint through a hot air gun and then scrape.
- Buy a specific product to remove paint from the tiles.
If you want to apply another decorative coating on top of Emottion, such as microcement, a compatible primer would need to be applied. If, on the other hand, you want to paint with another decorative paint, it would be done directly after checking the adhesion between them in a small space.
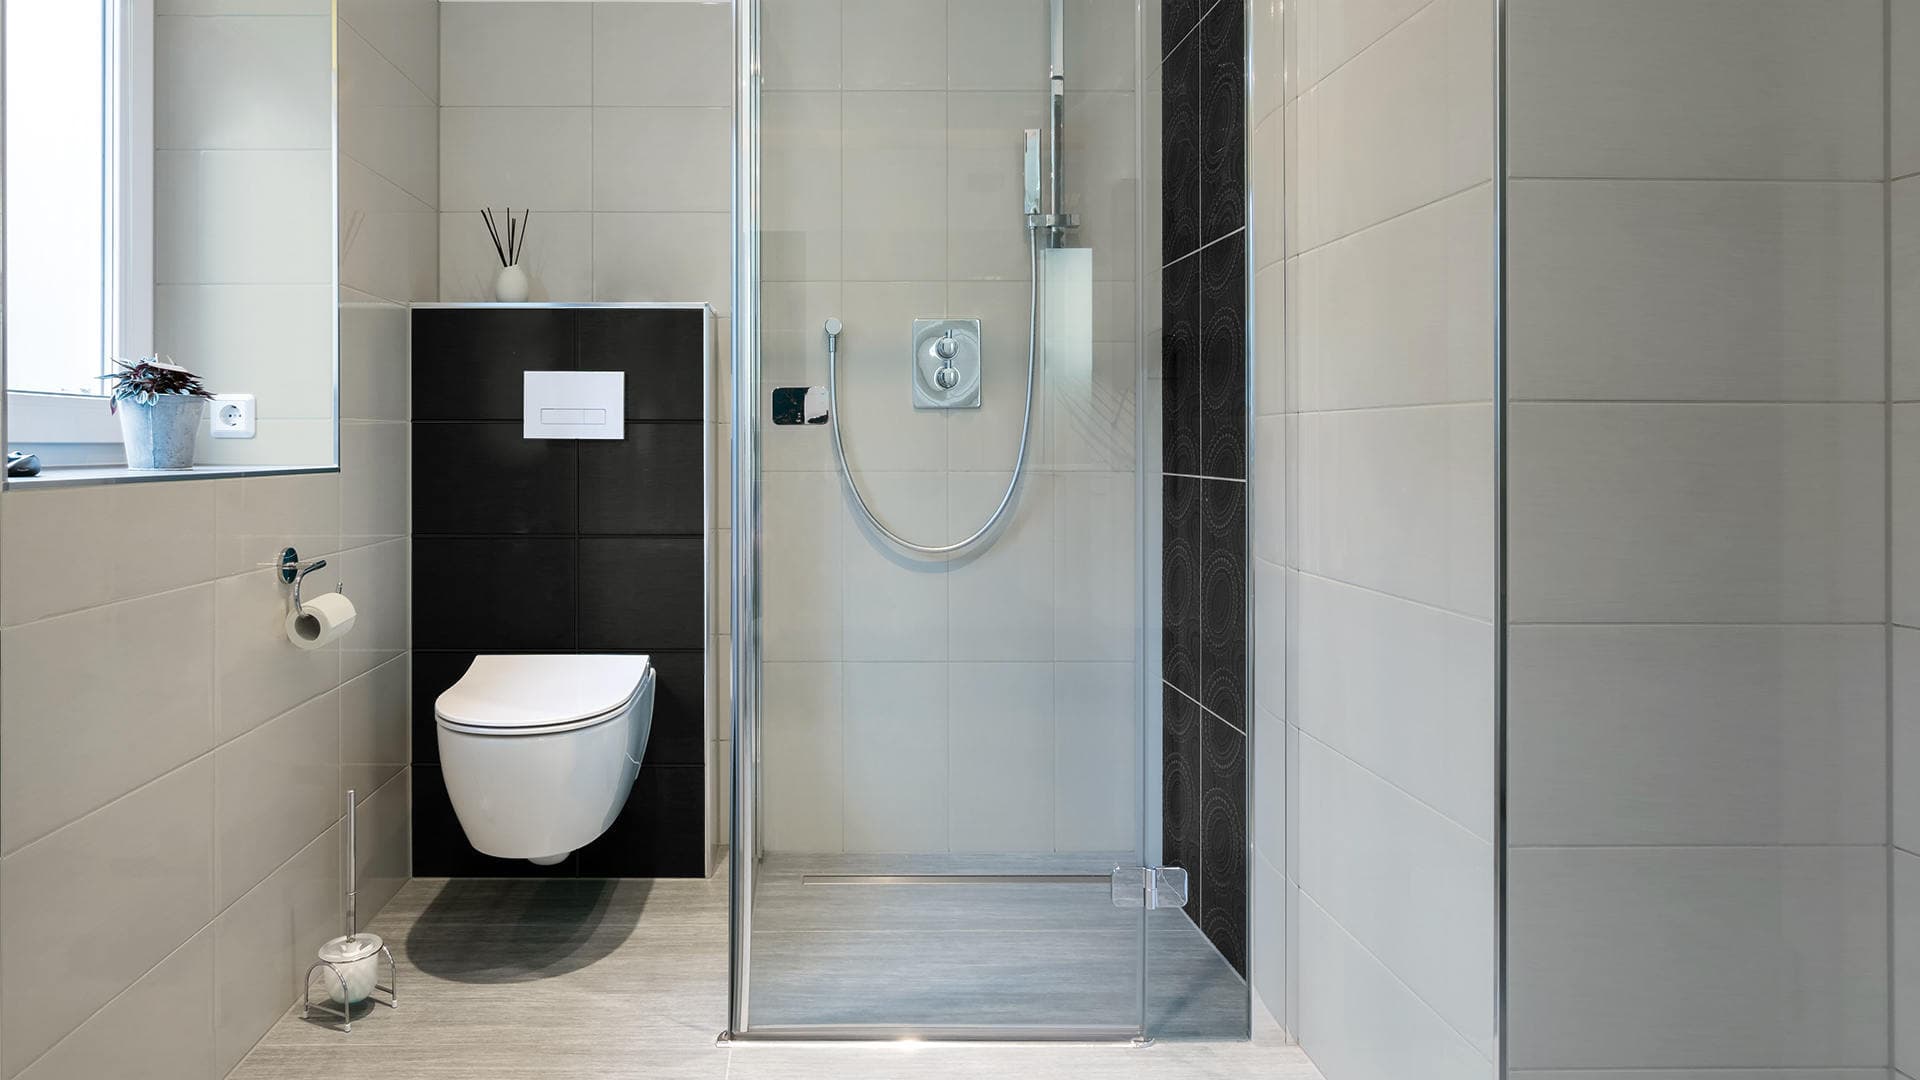
Can kitchen and/or bathroom tiles be painted without primer?
And you bet it can! The best proof of this is the Emottion tile paint. This technique of painting tiles without primer involves applying a special paint, like Emotion, which automatically adheres to the surface of the tiles. A paint that resists water and humidity, being perfect for spaces like bathrooms and kitchens. Emottion is available in 11 colours and satin finish.
How to remove stains from the tile?
The best product for cleaning tiles and removing stains is to use a specific product that does not damage them like Ecoclean Basic. You can also opt for a more traditional method like cleaning vinegar, enough to eliminate the persistent lime residues that are so difficult to remove.
Subscribe to our newsletter
Receive in your email tips for the application and care of microcement, the latest trends and news from Topciment products.


